Easy Crochet Honeycomb Stitch: Free Step-by-Step Pattern
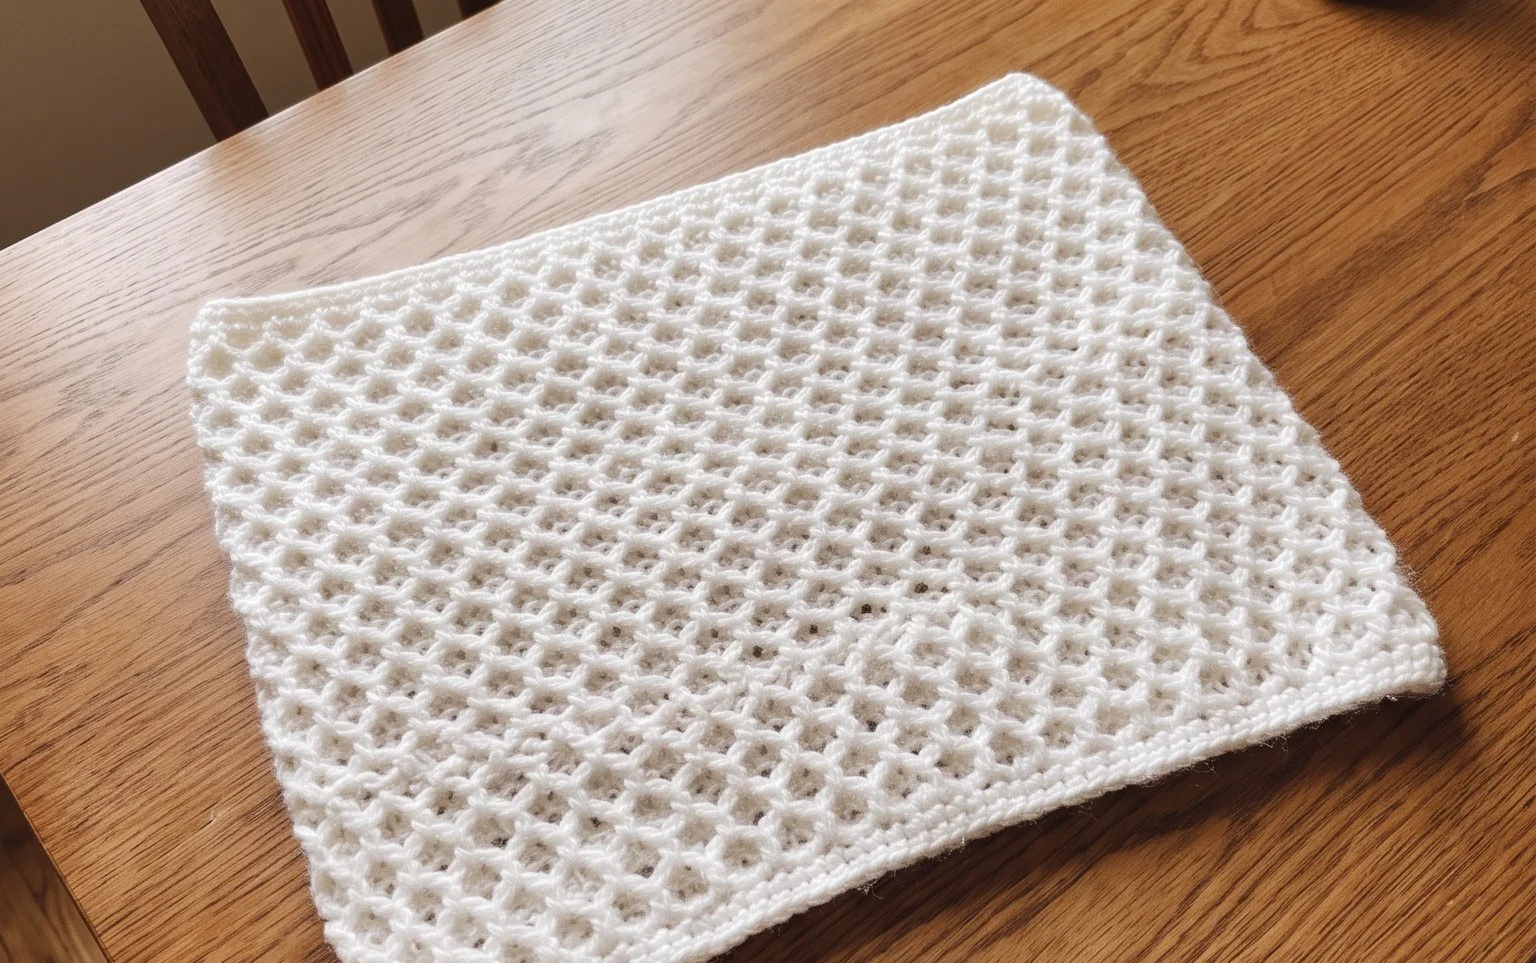
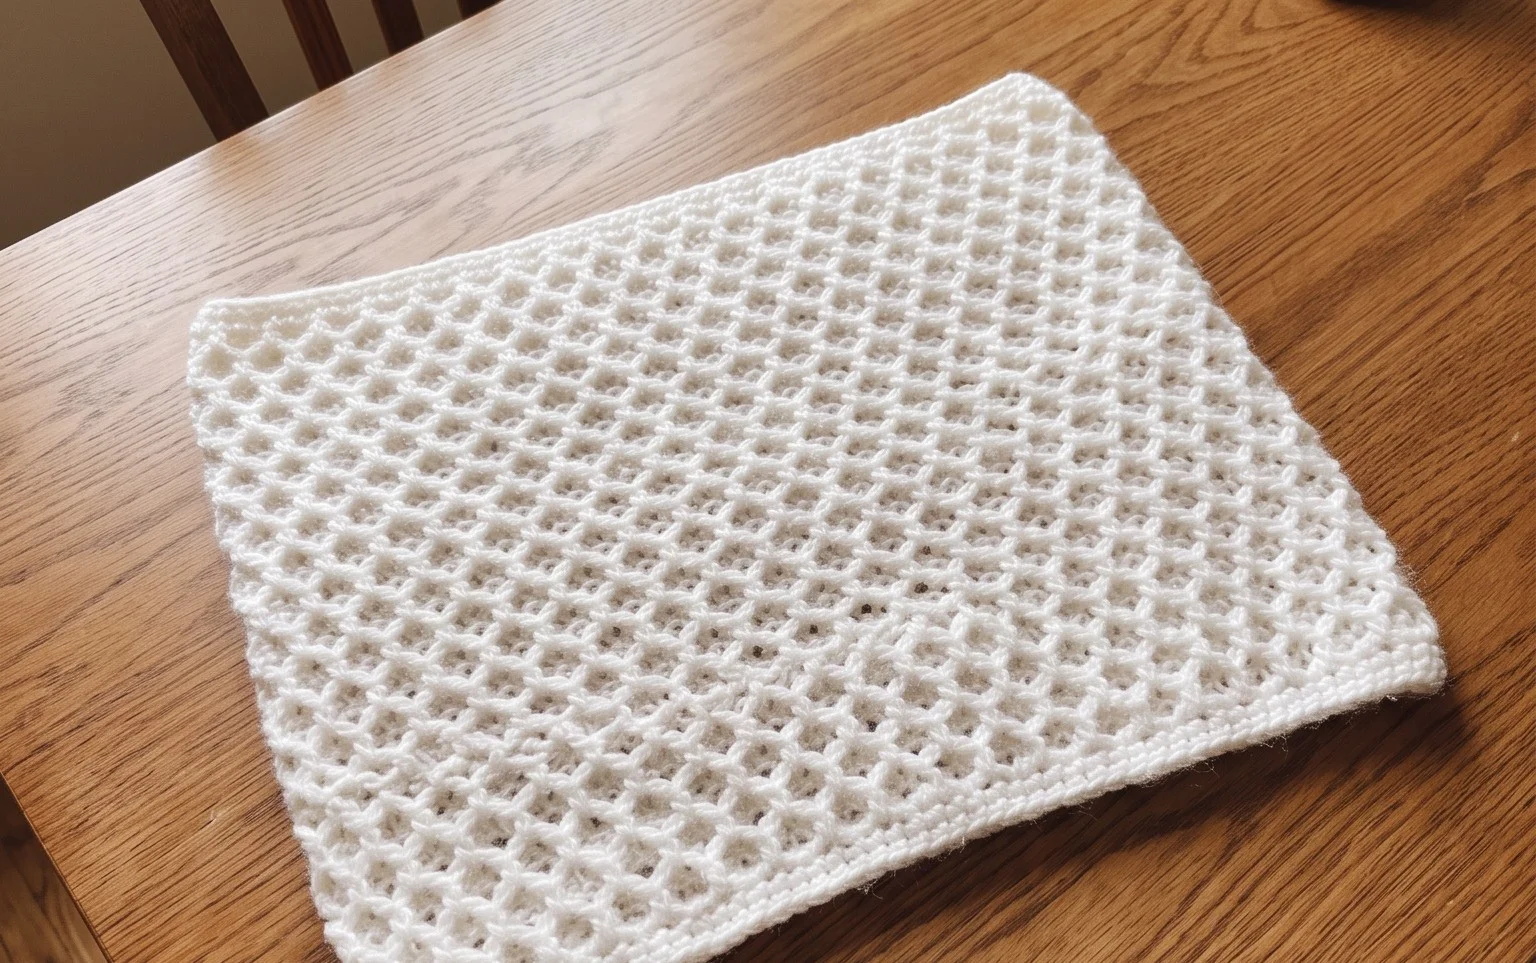
This textured fabric mimics the hexagonal pattern of a beehive, creating a dense and squishy material that feels remarkably thick under your fingers. It creates a satisfying rhythm as you hook, making it a great way to practice carrying yarn colors or shifting between standard stitches to build depth. Beginners often enjoy this method because it works up into a durable, structured surface without requiring fancy equipment. By learning this simple sequence of stitches, you gain a versatile technique for future blankets or heavy washcloths. You will soon master the subtle cross-over motions that create these distinct, geometric windows.
Why This Project Is Worth Making
This simple crochet drawstring bag is a functional staple that works up quickly using basic stitches. The construction uses a circular base that flows seamlessly into a straight-sided body, making it an ideal entry point for those learning to work in the round. Because it uses a medium-weight yarn, the fabric is durable enough to hold notions, small crochet projects, or personal accessories without stretching out of shape. You can complete this project in a single afternoon, making it a reliable choice for last-minute gifts or as a dedicated storage pouch for your scrap yarn ends.
I finished this project in about two hours and the drawstring mechanism works perfectly even with my tension variations. It is the perfect size for keeping my current knitting project organized in my larger tote bag.
— Sarah, intermediate crafter
Pattern Overview & Skill Level
- Skill Level: Beginner
- Approximate Time: 2–3 hours
- Construction: Worked in continuous rounds from the center base upward, finished with a double-crochet row for the drawstring channel.
- Finished Dimensions: 6 inches in diameter, 7 inches tall.
Materials & Supplies Needed
- Yarn: Worsted weight (#4), 100% cotton, approximately 150 yards. Cotton provides the structure needed to help the bag stand upright.
- Hook Size: 5.0 mm (US H-8).
- Notions: Tapestry needle for weaving ends, a stitch marker for marking the start of rounds, and a length of cord or ribbon for the drawstring.
- Safe yarn substitutions: Acrylic yarn is a suitable alternative but will result in a slightly softer, more slouchy finish. Avoid superwash wool as it may stretch significantly under the weight of items stored in the bag.
Stitch Guide & Abbreviations (US Terms)
- MR: Magic Ring.
- ch: Chain stitch.
- sc: Single crochet.
- inc: Increase (work 2 sc into the same stitch).
- dc: Double crochet.
- sl st: Slip stitch.
- st/sts: Stitch/stitches.
- BLO: Back loop only. Working in the back loop creates a visible ridge that helps define the transition from the base to the sides of the bag.
Step-by-Step Pattern Instructions
Bag Body
- Rnd 1: Start with a MR, work 6 sc into the ring. Place your stitch marker in the first stitch. (6 sts)
- Rnd 2: Work 2 sc in each st around. (12 sts)
- Rnd 3: 1 sc, inc repeat from * to * around. (18 sts)
- Rnd 4: 2 sc, inc repeat from * to * around. (24 sts)
- Rnd 5: 3 sc, inc repeat from * to * around. (30 sts)
- Rnd 6: 4 sc, inc repeat from * to * around. (36 sts)
- Rnd 7: 5 sc, inc repeat from * to * around. (42 sts)
- Rnd 8: Work in BLO, sc in each st around. (42 sts)
- Rnds 9–20: Work even in sc in each st around. (42 sts)
- Rnd 21: ch 2, skip 1 st, dc in next 2 sts repeat from * to * around to create eyelets for the drawstring. Join with a sl st to the first st. (42 sts)
- Rnd 22: Sc in each st and ch space around. (42 sts)
Finishing
Fasten off your yarn, leaving a 6-inch tail. Weave in your ends securely on the inside of the bag. Thread your chosen cord through the eyelets created in Rnd 21. If you prefer, crochet a foundation chain of 100 stitches to act as a custom drawstring.
Care & Washing Instructions
- Hand wash in cool water with a mild detergent to prevent the cotton fibers from fraying.
- Lay the bag flat on a clean towel to air dry, reshaping it while damp to ensure the base remains circular.
- Avoid using a tumble dryer, as high heat can shrink cotton yarn and alter the structure of the bag.
Pro Tips & Common Mistakes to Avoid
- Keep your tension tight during the base rounds to ensure the bottom of the bag does not have large holes where the stuffing or items could poke through.
- Always move your stitch marker at the end of every round to avoid losing your place in the pattern, as continuous rounds can make it difficult to identify the first stitch.
- Weave your yarn tails in multiple directions through the stitches on the inside of the bag; this prevents them from pulling out over time with frequent use.
- If you wish to make the bag larger, add more increase rounds at the beginning, but note that you will need extra yarn to maintain the height-to-width ratio.
Frequently Asked Questions
Can I use a different weight of yarn for this pattern?
Yes, you can use a different weight, but remember that changing the yarn weight will change the final size of the bag. If you use a thicker yarn, use a larger hook to maintain a flexible fabric.
Is this pattern suitable for someone who has never crocheted before?
This pattern is beginner-friendly as it relies primarily on basic single crochet stitches and simple increase rounds. Following the stitch counts carefully is the most important part of the process.
How do I adjust the height of the bag?
To make the bag taller or shorter, simply add or subtract the number of rounds worked in the body section between Rnd 9 and Rnd 20. Ensure you have enough yarn to account for any additional height.
Can I sell the bags I make from this pattern?
You are welcome to sell finished items made from this pattern, provided you credit the design. Please do not sell or distribute the pattern itself, as the instructions remain the intellectual property of the designer.
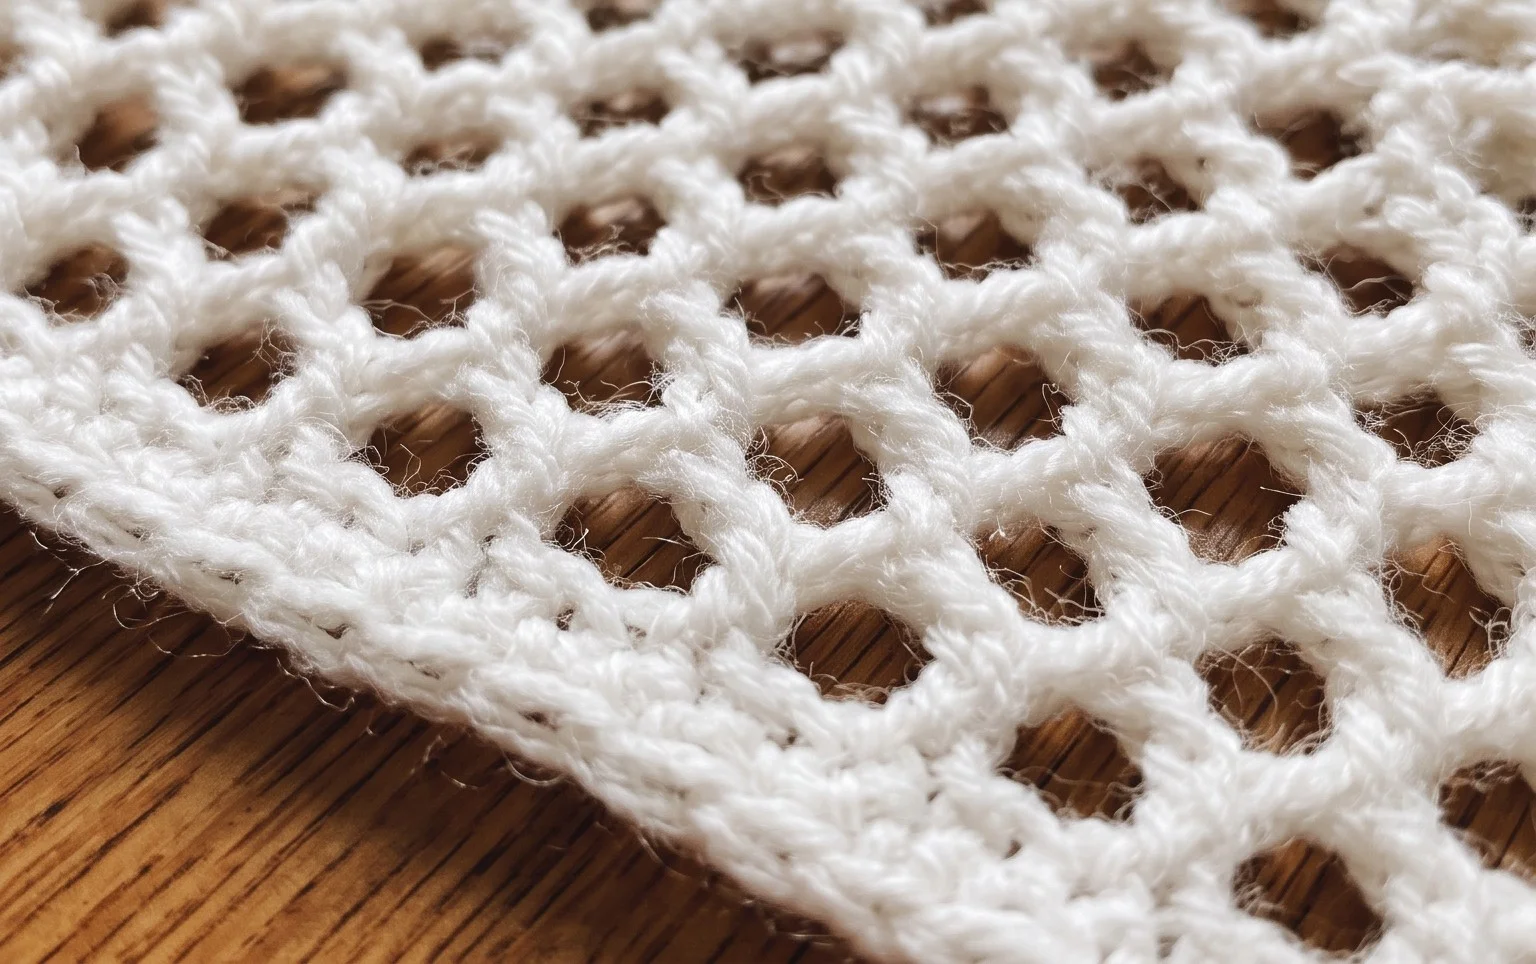
Seeing your yarn transform into such a distinct, raised pattern brings a quiet sense of accomplishment to any afternoon spent on the couch. If you want to experiment, try using a variegated cotton yarn to highlight the hexagonal shape of each stitch or increase your starting chain to make a larger washcloth. Please take a photo of your finished work and share it on your favorite social media site so others can see your progress. Feel free to browse our archives for more free patterns to build your skills.