Easy Crochet Flower Patterns: Free Step-by-Step Guide
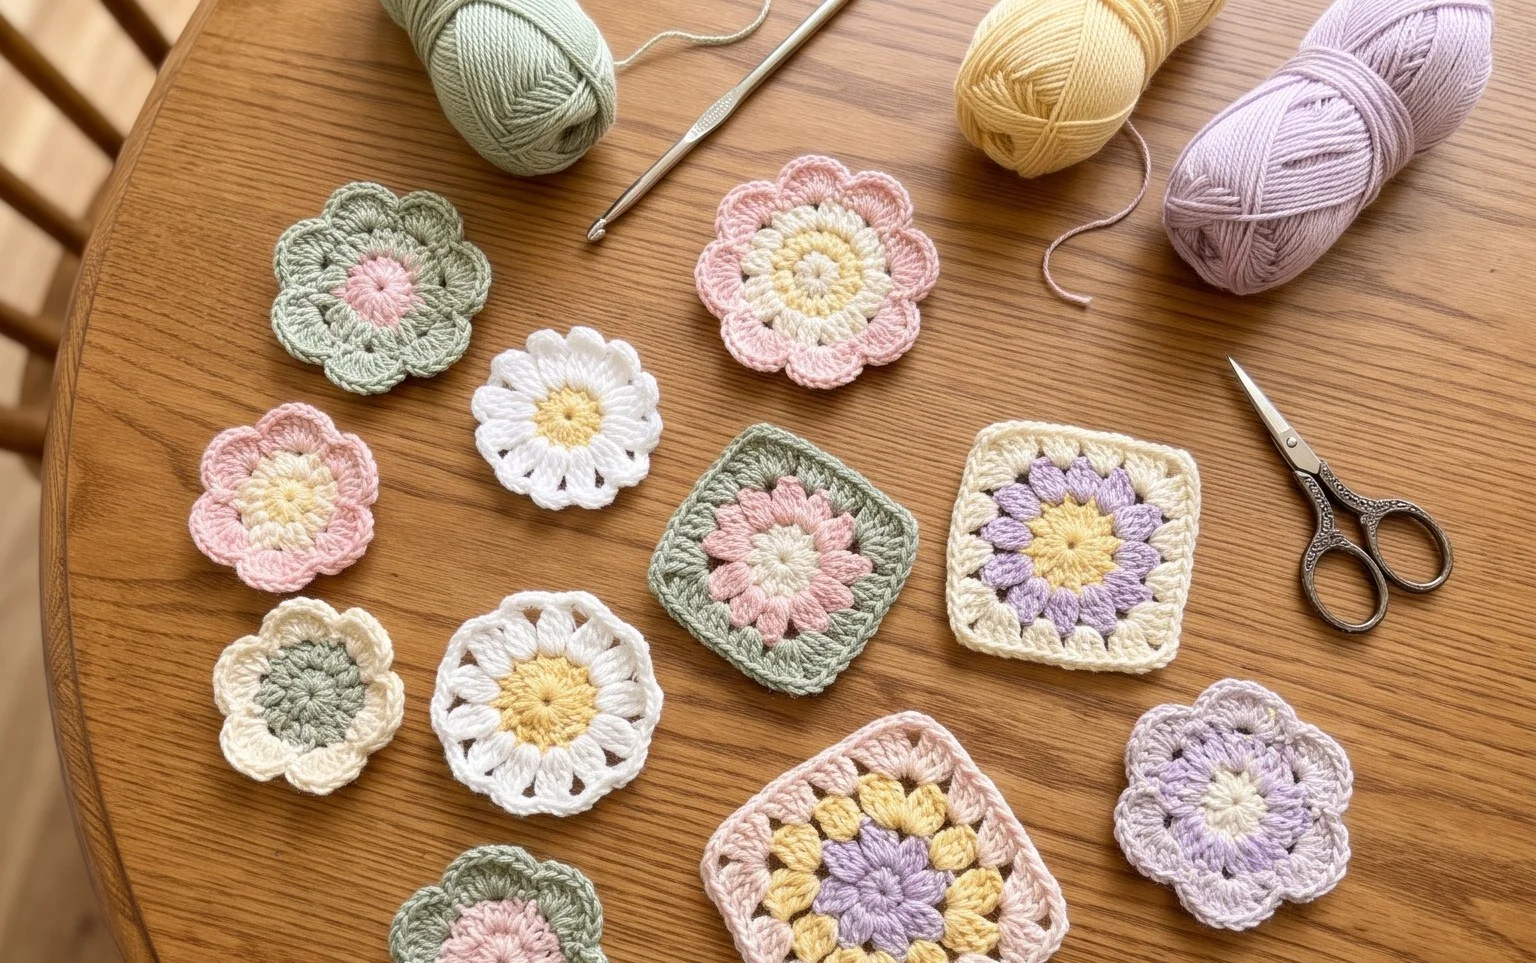
Soft yarn petals worked in bright cotton threads bring a natural, refreshing warmth to a quiet living room corner or a sun-drenched windowsill. These small floral projects feel satisfying because they finish quickly, offering a sense of accomplishment in just one afternoon of steady focus. Whether you want to attach them to a hair clip, weave them into a spring wreath, or brighten up a plain denim jacket, these crochet pieces offer endless creative potential. You will learn to manage tension across thin petals and use the chain stitch to build structure without needing complex, heavy foundations.
Why You’ll Love This Pattern
The Classic Crochet Granny Square is the fundamental building block for countless textile projects. This pattern relies on a repeating sequence of double crochet clusters, creating a rhythmic and meditative flow that is easy to memorize. You can complete a single square in less than thirty minutes, making it an ideal choice for using up small amounts of leftover yarn from larger projects. Its versatility allows you to join these pieces into blankets, totes, or garments, providing a polished, professional finish even for beginners.
I finally learned how to keep my edges straight and my corners crisp using this specific technique. It was much easier than other tutorials I have tried in the past.
— Sarah, hobbyist crafter
Pattern Overview & Skill Level
- Skill Level: Beginner
- Approximate Time: 20–30 minutes per square
- Construction: Working in continuous rounds starting from the center and moving outward
- Finished Dimensions: Approximately 5 inches by 5 inches when using recommended materials
Materials & Supplies Needed
- Yarn: Worsted weight (#4) acrylic or wool blend, approximately 20 yards per square.
- Hook Size: 5.0 mm / H-8
- Notions: Tapestry needle for weaving in ends, scissors, and optional locking stitch markers to track the corners.
- Yarn Substitutions: You may use DK weight (#3) yarn for a smaller, more delicate square, but you will need to increase the number of rounds to achieve the same 5-inch finished size. Using chunky weight (#5) yarn will result in a much larger, thicker square.
Stitch Guide & Abbreviations (US Terms)
- ch = chain
- st = stitch
- sl st = slip stitch
- dc = double crochet
- dc cluster = 3 double crochet stitches worked into the same space
- sp = space
- MR = magic ring
Step-by-Step Pattern Instructions
Granny Square Body
- Rnd 1: Start with a MR. Ch 3 (counts as first dc), work 2 dc into the ring, ch 2. Work 3 dc into the ring, ch 2. Repeat from * to * two more times. Join with a sl st to the top of the beginning ch 3. (12 dc, 4 ch-2 sp)
- Rnd 2: Sl st into the next 2 dc and into the first ch-2 sp. Ch 3, 2 dc, ch 2, 3 dc all into the same ch-2 sp. Ch 1, skip next 3 dc, work (3 dc, ch 2, 3 dc) into the next ch-2 sp. Repeat from * to * two more times. Ch 1, join with a sl st to the top of the beginning ch 3. (24 dc, 4 ch-2 sp, 4 ch-1 sp)
- Rnd 3: Sl st into the next 2 dc and into the corner ch-2 sp. Ch 3, 2 dc, ch 2, 3 dc into the same corner sp. Ch 1, 3 dc into the next ch-1 sp, ch 1, work (3 dc, ch 2, 3 dc) into the next corner sp. Repeat from * to * two more times. Ch 1, 3 dc into the last ch-1 sp, ch 1, join with a sl st to the top of the beginning ch 3. (36 dc, 4 ch-2 sp, 8 ch-1 sp)
- Rnd 4: Continue in the same manner. In every corner ch-2 sp, work (3 dc, ch 2, 3 dc). In every side ch-1 sp, work 3 dc. Chain 1 between all clusters. (48 dc, 4 ch-2 sp, 12 ch-1 sp)
Finishing
Fasten off your yarn, leaving a 6-inch tail. Use the tapestry needle to weave the yarn tail through the back of the stitches to secure it. If you are joining multiple squares, leave a longer tail on the final round to use for whip-stitching the squares together.
Care & Washing Instructions
- Machine wash your finished squares on a gentle cycle in cool water to prevent fiber distortion.
- Lay the piece flat on a clean towel to air dry, ensuring the edges are pulled into a straight square shape.
- Use a steam iron on a low setting or a garment steamer if the square curls, but do not press the iron directly onto the acrylic yarn.
Pro Tips & Common Mistakes to Avoid
Maintain consistent tension by holding your yarn with the same grip throughout the entire project. If your square begins to ripple or wave, your hook size may be too large for your chosen yarn weight. Use a stitch marker to identify the starting ch-3 of each round, as this makes the final join significantly easier to locate. If you decide to adjust the size, add more rounds following the pattern logic of working (3 dc, ch 2, 3 dc) in the corners and 3 dc in each side space, remembering that every additional round will require significantly more yarn than the previous one.
Frequently Asked Questions
Can I sell the squares I make from this pattern?
You are welcome to sell finished items made from this pattern, provided you credit the designer and use your own original photographs of your work.
Why are my corners curling instead of laying flat?
Curling often happens if you are missing the chain stitches between the clusters or if your chain-2 corner spaces are too tight. Ensure you are working a full chain-2 in every corner to provide enough room for the fabric to turn.
Is this pattern suitable for making a full blanket?
This pattern is perfect for blankets. You can make as many squares as needed and join them using a single crochet seam or an invisible mattress stitch for a seamless appearance.
Does changing my hook size affect the yarn amount needed?
Yes, a larger hook will create looser stitches and consume more yarn per square, while a smaller hook will create a tighter fabric and use slightly less yarn.
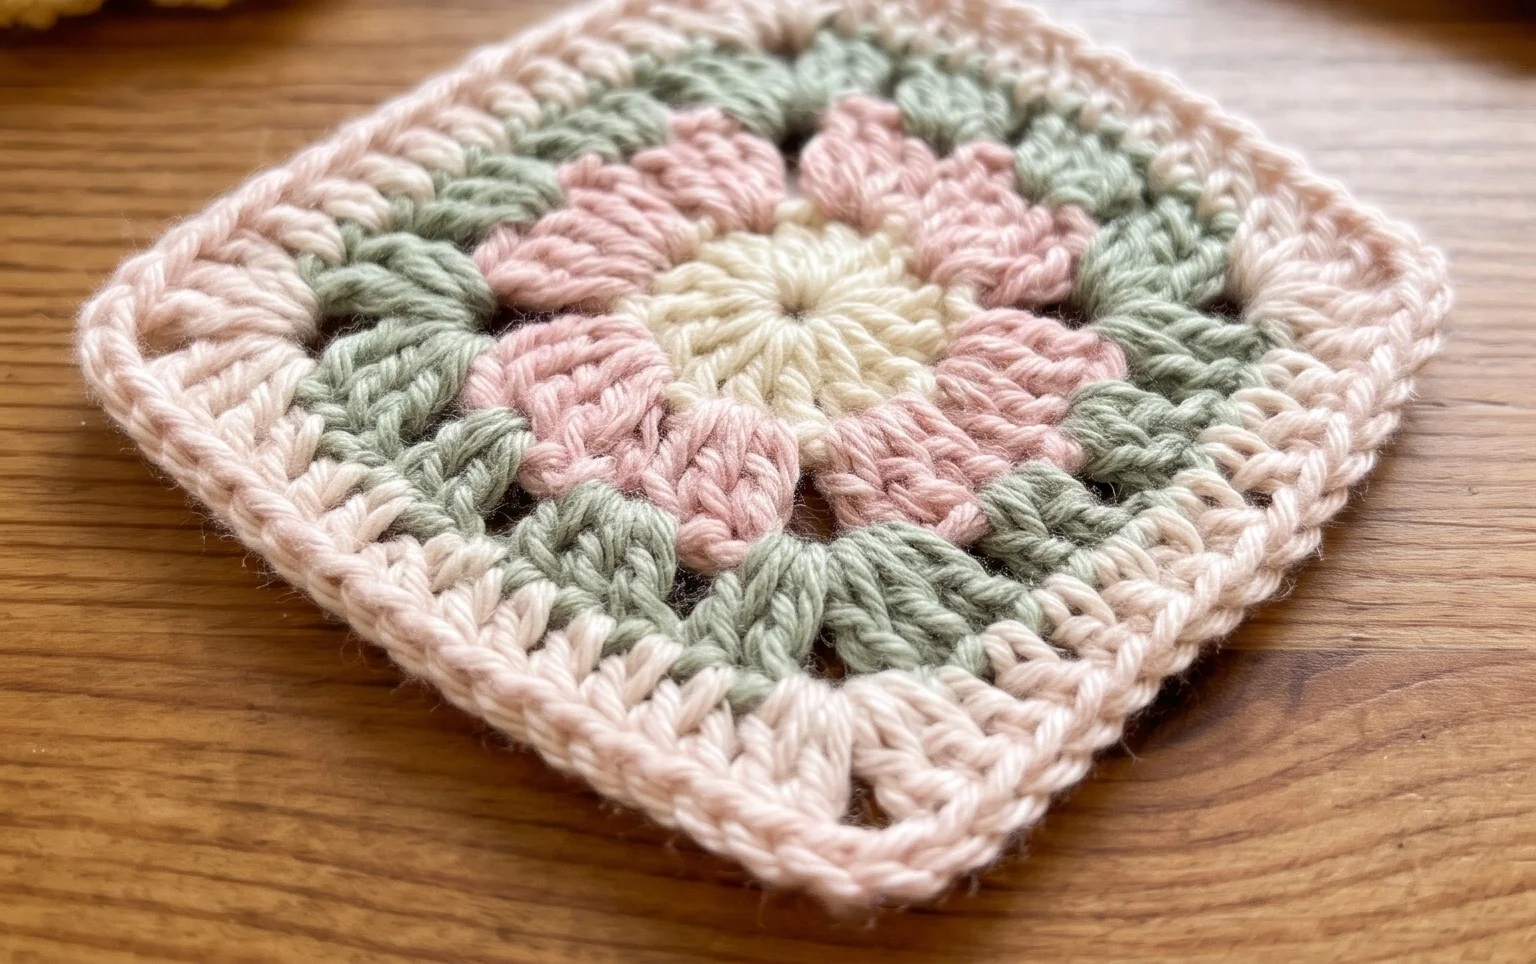
Your finished floral piece captures the arrival of a new season with its light, airy texture and careful detail. Consider swapping the standard worsted weight yarn for a fine lace-weight cotton if you want to create a delicate, realistic brooch that mimics tiny blossoms. Seeing how you choose to display these motifs in your home or on your clothing motivates others to start their own craft projects. Please upload a clear photo of your work to your favorite social platform so our community can see your color choices, and then visit the rest of our library for more free crochet pattern tutorials.