Easy Tiny Snowman Crochet Pattern: Free Beginner Project
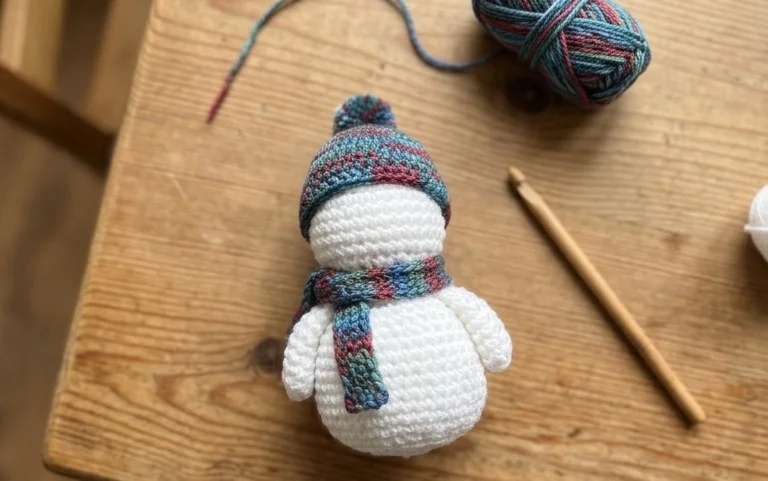
These little white figures sit comfortably in the palm of your hand, offering a dense and soft texture that makes them ideal for winter shelf displays or small holiday ornaments. Because they work up quickly using simple single crochet stitches, they are a practical project for anyone learning to manage yarn tension or looking to use up leftover scraps. You will find that forming the spherical shape is a relaxing rhythm, and adding small details like a scarf or carrot nose brings each personality to life. This guide covers how to shape your figures while maintaining tight, clean stitches throughout.
Why Crocheters Love It
This beginner-friendly project works up quickly, making it a reliable choice for last-minute gifts or stash-busting sessions. Because the pattern relies on basic stitches, you can complete a finished piece in a single afternoon without needing to memorize complex repeats. The construction is straightforward, requiring no intricate color changes or advanced shaping. You will find this design particularly satisfying if you enjoy seeing a project grow steadily in your hands while practicing your stitch tension.
I managed to finish this project over a weekend using yarn I already had in my basket. The instructions were easy to follow and the final result looks professional enough to give as a birthday gift.
— Sarah, hobbyist crafter
Pattern Overview & Skill Level
- Skill Level: Beginner
- Approximate Time: 3 to 4 hours
- Construction: Worked in continuous rounds from the center outward, forming a sturdy 3D sphere shape.
- Finished Dimensions: 4 inches in diameter when using medium weight yarn and a 5.0 mm hook.
Materials & Supplies Needed
- Yarn: Worsted weight (#4) acrylic or cotton blend, approximately 60 yards.
- Hook Size: 5.0 mm (US H-8).
- Notions: Tapestry needle for weaving in ends, a locking stitch marker to track round starts, and a handful of polyester fiberfill for stuffing.
- Yarn Substitutions: You can use DK weight yarn for a smaller, tighter result, but you will need to decrease your hook size to 4.0 mm to prevent gaps in the stitching. Using chunky weight yarn will create a larger item but will require approximately 30% more yardage.
Stitch Guide & Abbreviations (US Terms)
- MR: Magic ring. Start by wrapping the yarn around your fingers and pulling up a loop to work your first stitches into.
- ch: Chain stitch.
- sc: Single crochet. Insert hook into stitch, yarn over, pull up a loop, yarn over, pull through both loops on hook.
- inc: Increase. Work 2 sc into the same stitch to add volume.
- dec: Decrease. Insert hook into the front loop of the next two stitches, yarn over, pull through both, yarn over, pull through remaining two loops.
- sl st: Slip stitch. Insert hook into stitch, yarn over, pull through both the stitch and the loop on your hook.
Step-by-Step Pattern Instructions
Main Body
Work in a continuous spiral without joining rounds. Use a stitch marker to track the first stitch of every round.
- Rnd 1: Start 6 sc into a magic ring (6 sts).
- Rnd 2: 2 sc in each st around (12 sts).
- Rnd 3: [1 sc, inc] repeat 6 times (18 sts).
- Rnd 4: [2 sc, inc] repeat 6 times (24 sts).
- Rnd 5: [3 sc, inc] repeat 6 times (30 sts).
- Rnd 6 – 10: Sc in each st around (30 sts).
- Rnd 11: [3 sc, dec] repeat 6 times (24 sts).
- Rnd 12: [2 sc, dec] repeat 6 times (18 sts).
Stuffing and Closing
At this stage, fill the interior firmly with fiberfill. Ensure the stuffing is evenly distributed so the shape remains round rather than lumpy.
- Rnd 13: [1 sc, dec] repeat 6 times (12 sts).
- Rnd 14: Dec 6 times around (6 sts).
- Finishing: Cut the yarn leaving a 6-inch tail. Use the tapestry needle to weave the tail through the front loops of the remaining 6 stitches. Pull the tail tight to close the opening securely and knot it before hiding the end inside the piece.
Care & Washing Instructions
- Hand wash your finished item in cool water using a mild wool-safe detergent to preserve the shape and fiber integrity.
- Lay the piece flat on a clean towel in a shaded area to air dry, avoiding direct heat sources that can melt synthetic fibers.
- Reshape the item gently while it is damp if the stuffing has caused it to flatten during transport or storage.
Pro Tips & Common Mistakes to Avoid
- Maintain consistent tension throughout the project to ensure the stuffing does not show through the gaps between stitches.
- Always use a stitch marker at the start of each round to avoid losing your place, as counting stitches in a spiral can be difficult once you reach the halfway point.
- Hide your yarn ends by weaving them back and forth through the interior of the stitches rather than cutting them flush, which prevents the yarn from unraveling over time.
- If you choose to scale the project up by adding more increase rounds, remember that your yarn usage will increase exponentially rather than linearly.
Frequently Asked Questions
Can I use wool yarn instead of acrylic for this pattern?
Yes, wool is an excellent choice for this project as it holds its shape well. Note that wool is generally not machine washable, so plan to hand wash your item according to the care instructions on the yarn label.
Is this project suitable for a complete beginner?
Yes, because the pattern only uses the single crochet stitch and simple increases or decreases. If you can create a magic ring and count to thirty, you have all the skills required to complete this item.
How do I make the finished item larger?
To increase the size, continue the increase rounds beyond Rnd 5, such as [4 sc, inc] for Rnd 6, and add more even rounds before starting your decreases. Keep in mind this will require more fiberfill and yarn.
Can I sell the items I make from this pattern?
You are welcome to sell finished items created from this pattern. I ask that you credit the designer by including a link to this tutorial in your product listing or tags.
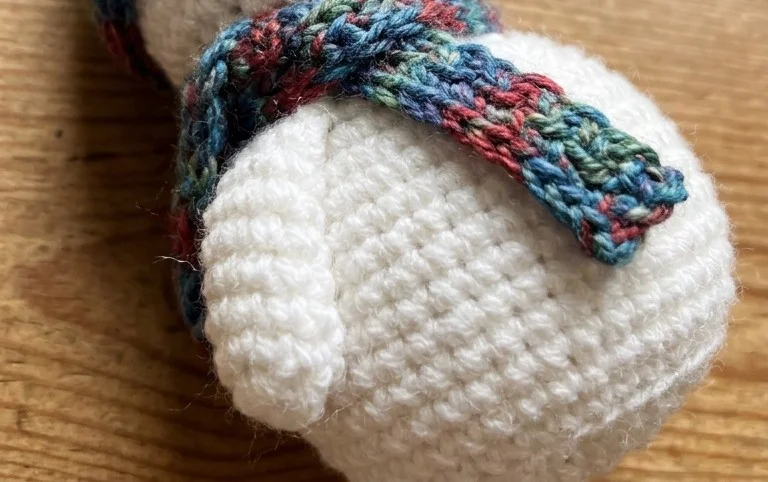
Your finished miniature winter friend looks delightful perched on a mantle or tucked into a festive gift basket. If you want to experiment with different looks, try using velvet yarn to give your snowman a fuzzy texture or scale it down with embroidery thread for a tiny ornament. Posting a photo of your finished creation helps others see the potential of these small projects. You can browse more free patterns on the blog to find your next afternoon craft session once you finish your first snow buddy.