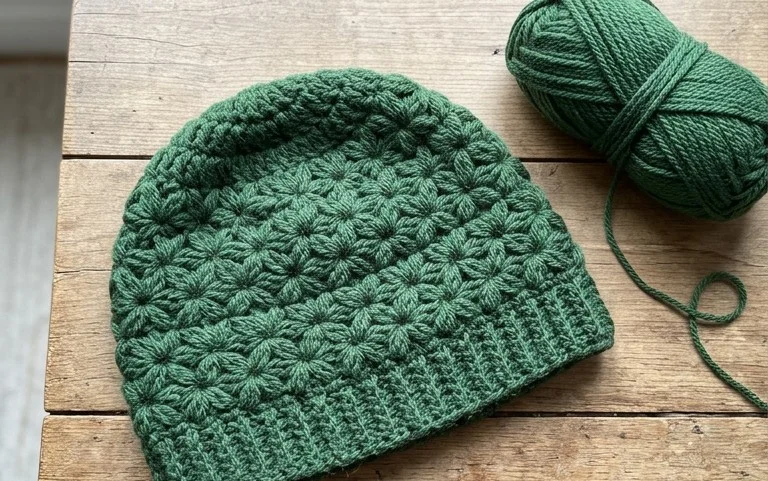
Diamonds Ear Warmer: Free Easy Beginner Crochet Pattern
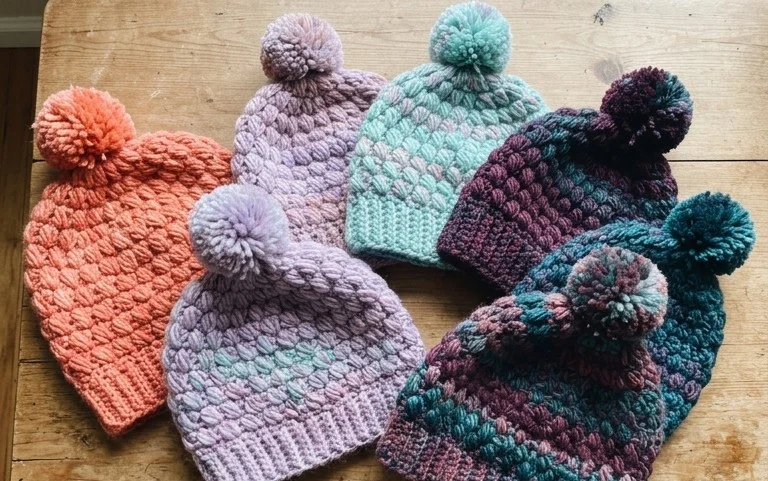
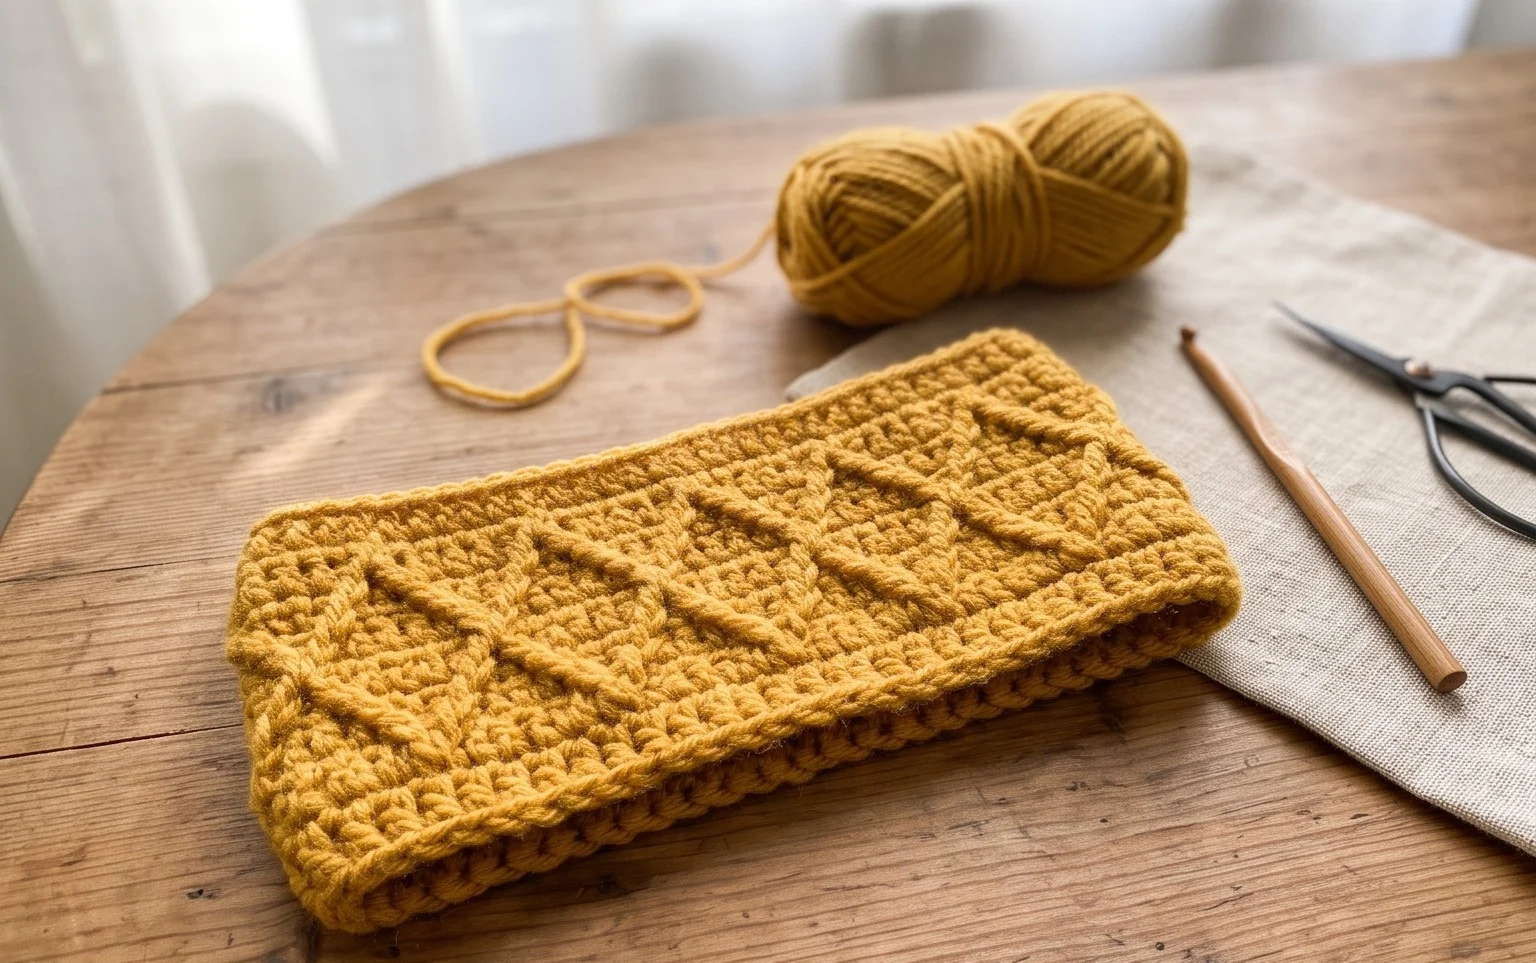
This cozy accessory feels soft against your forehead and provides a snug barrier against biting winter winds. The design creates a geometric, diamond-like texture that hides a simple construction, making it an excellent choice if you are just starting your crochet journey. You will work in flat rows using basic stitches that build into a thick, warm fabric before you join the edges together. Whether you are crafting a thoughtful handmade gift for a friend or building your own winter wardrobe, this project offers a satisfying rhythm that helps you master consistent tension without getting overwhelmed by complex stitch counts.
Why You’ll Love This Pattern
This crochet ribbed beanie pattern uses a simple construction method that mimics a professional knit-look finish using only basic stitches. It is an ideal project for those who want to practice maintaining even tension across a long rectangle before seaming it into a hat. Because it works up in a flat panel, you can stop and start easily without losing your place in a complex stitch count. The finished fabric is dense and stretchy, providing excellent warmth for cold weather while remaining soft against the skin.
I finished this hat in one evening while watching a movie, and the ribbed texture makes it look like a high-end store-bought item rather than something handmade.
— Sarah, hobbyist crocheter
Pattern Overview & Skill Level
- Skill Level: Beginner
- Approximate Time: 3 to 4 hours
- Construction: Worked flat in rows to create a rectangle, then seamed to form a tube and gathered at the crown
- Finished Dimensions & Sizing: 8 inches tall by 18 inches circumference (unstretched), fits an average adult head
Materials & Supplies Needed
- Yarn: Worsted #4 weight, wool or acrylic blend, approximately 200 yards in your chosen color.
- Hook Size: 5.0 mm (H-8) crochet hook.
- Notions: Tapestry needle for seaming and weaving ends, locking stitch markers, and a tape measure.
- Yarn Substitutions: You may use cotton yarn, though it will result in a heavier hat with less natural elasticity. Avoid bulky or super-bulky yarns unless you adjust your starting chain length to match your desired height.
Stitch Guide & Abbreviations (US Terms)
- ch: Chain
- st/sts: Stitch/stitches
- sl st: Slip stitch
- BLO: Back loop only. This technique creates the ribbed, stretchy texture of the fabric by inserting the hook only into the back loop of the stitch from the previous row.
Step-by-Step Pattern Instructions
The entire hat is worked back and forth in rows. The slip stitch ribbing creates a vertical orientation when worn.
- Row 1: Ch 41. Starting in the second chain from the hook, work 1 sl st into each chain across. Turn. (40 sts)
- Row 2: Ch 1. Work 1 sl st in the BLO of each stitch across. Turn. (40 sts)
- Rows 3–60: Repeat Row 2 until the piece measures approximately 18 inches in width when laid flat. Do not fasten off after the final row. (40 sts)
Assembly and Finishing
- Fold the rectangle in half so the short edges meet.
- With the right side facing out, slip stitch through the BLO of the last row and the starting foundation chain across the edge to join the hat into a tube.
- Fasten off, leaving a 12-inch long yarn tail.
- Thread the tapestry needle with the long tail and weave it in and out along the top edge of the tube.
- Pull the yarn tight to gather the top of the hat closed, securing the opening with a few extra stitches.
- Turn the hat inside out to hide the seam, then turn it back to the right side and fold up the brim.
Care & Washing Instructions
- Hand wash your finished hat in cool water using a mild wool-safe detergent to preserve the elasticity of the yarn.
- Lay the piece flat on a clean towel and roll it to remove excess moisture; do not wring or twist the fabric.
- Reshape the hat while damp and allow it to air dry away from direct sunlight or heat sources.
Pro Tips & Common Mistakes to Avoid
Maintain a loose, consistent tension when working slip stitches, as this stitch naturally tightens up over time. Keep your slip stitches large enough to easily insert the hook into on the following row, otherwise, you will struggle to complete your passes. Use a stitch marker on the first and last stitch of every row to ensure your edges remain straight and you do not accidentally lose stitches, which would cause the hat to taper. If you wish to make this hat larger or smaller, add or subtract chains in increments of two, but remember that changing the size will require more or less total yardage.
Frequently Asked Questions
Can I use a larger hook to make the hat faster?
Using a larger hook will make the fabric looser and less structured, which may lead to a hat that does not retain heat well. Stick to the recommended hook size for the best result.
Is this pattern suitable for someone who has never crocheted before?
Yes, this pattern only requires two basic skills: chaining and slip stitching in the back loop. If you can maintain even tension, you will find this project manageable.
How do I adjust the height of the beanie?
To make the hat shorter or taller, simply change your starting chain count. Each chain equals one stitch of height in the final ribbed fabric.
Can I sell the hats I make from this pattern?
You are welcome to sell finished items created from this pattern, provided you credit the design and use your own photographs for your listings.
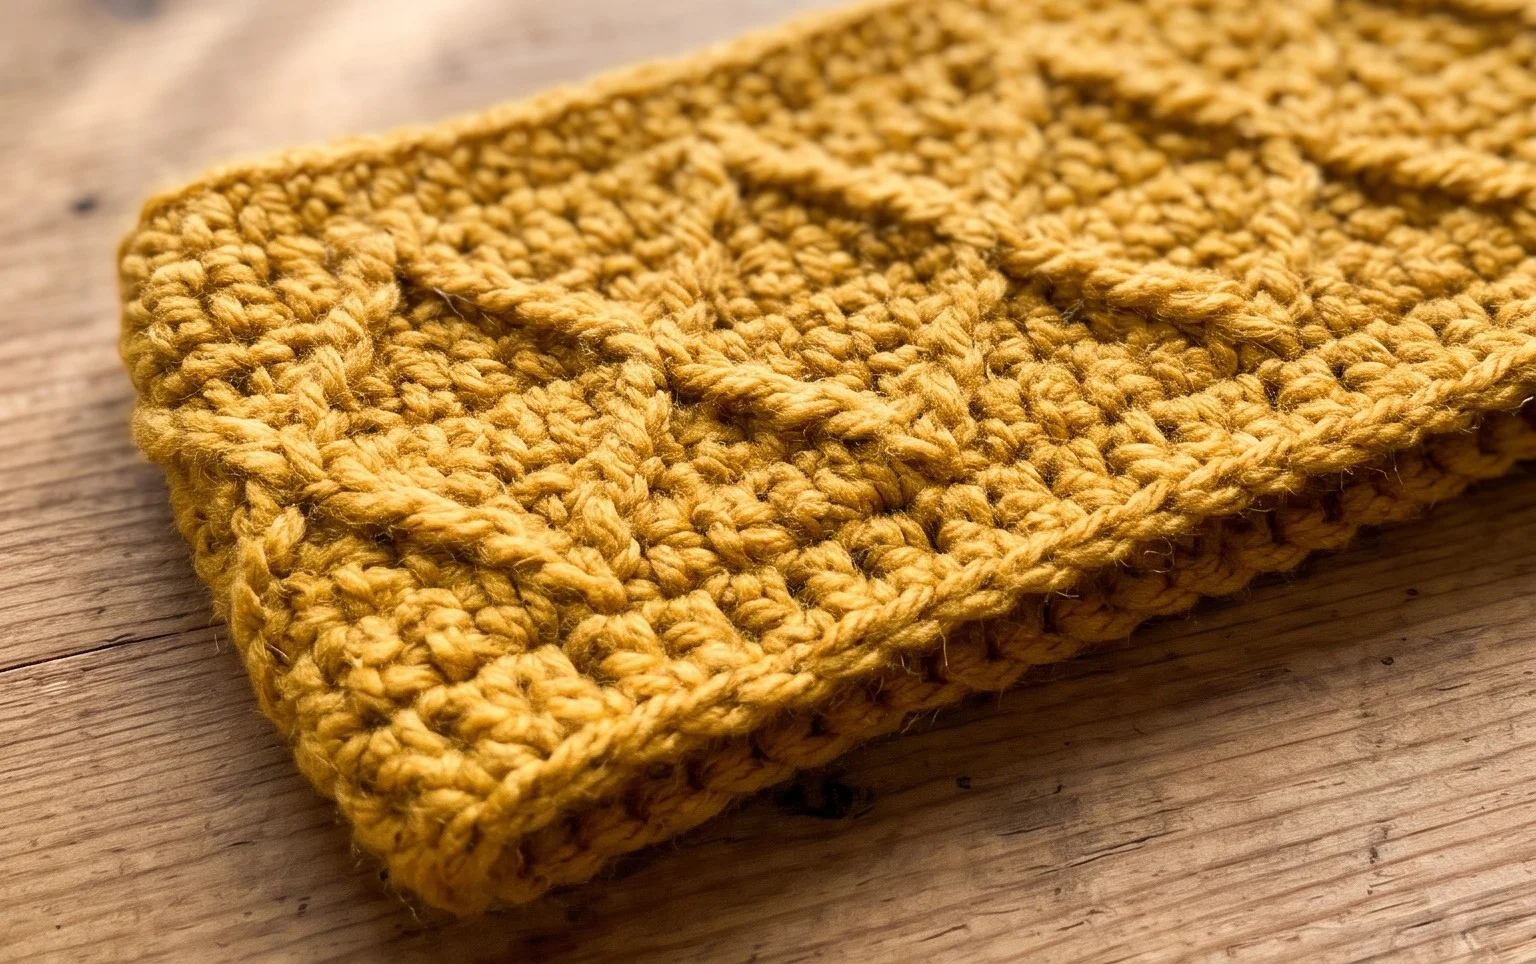
Finishing this snug ear warmer gives you a sense of pride that only comes from creating something practical and stylish with your own two hands. You might consider working the next version in a variegated yarn to make those geometric diamonds pop with color or adding a faux fur pom-pom to the side for extra flair. Once you snap a photo of your work, post it online to inspire others in the community. You are welcome to browse the rest of the blog for more free patterns to fill your crafting queue.