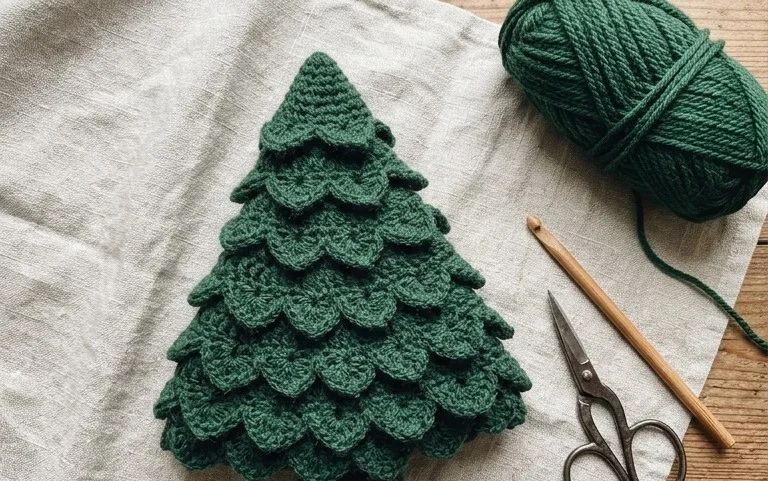
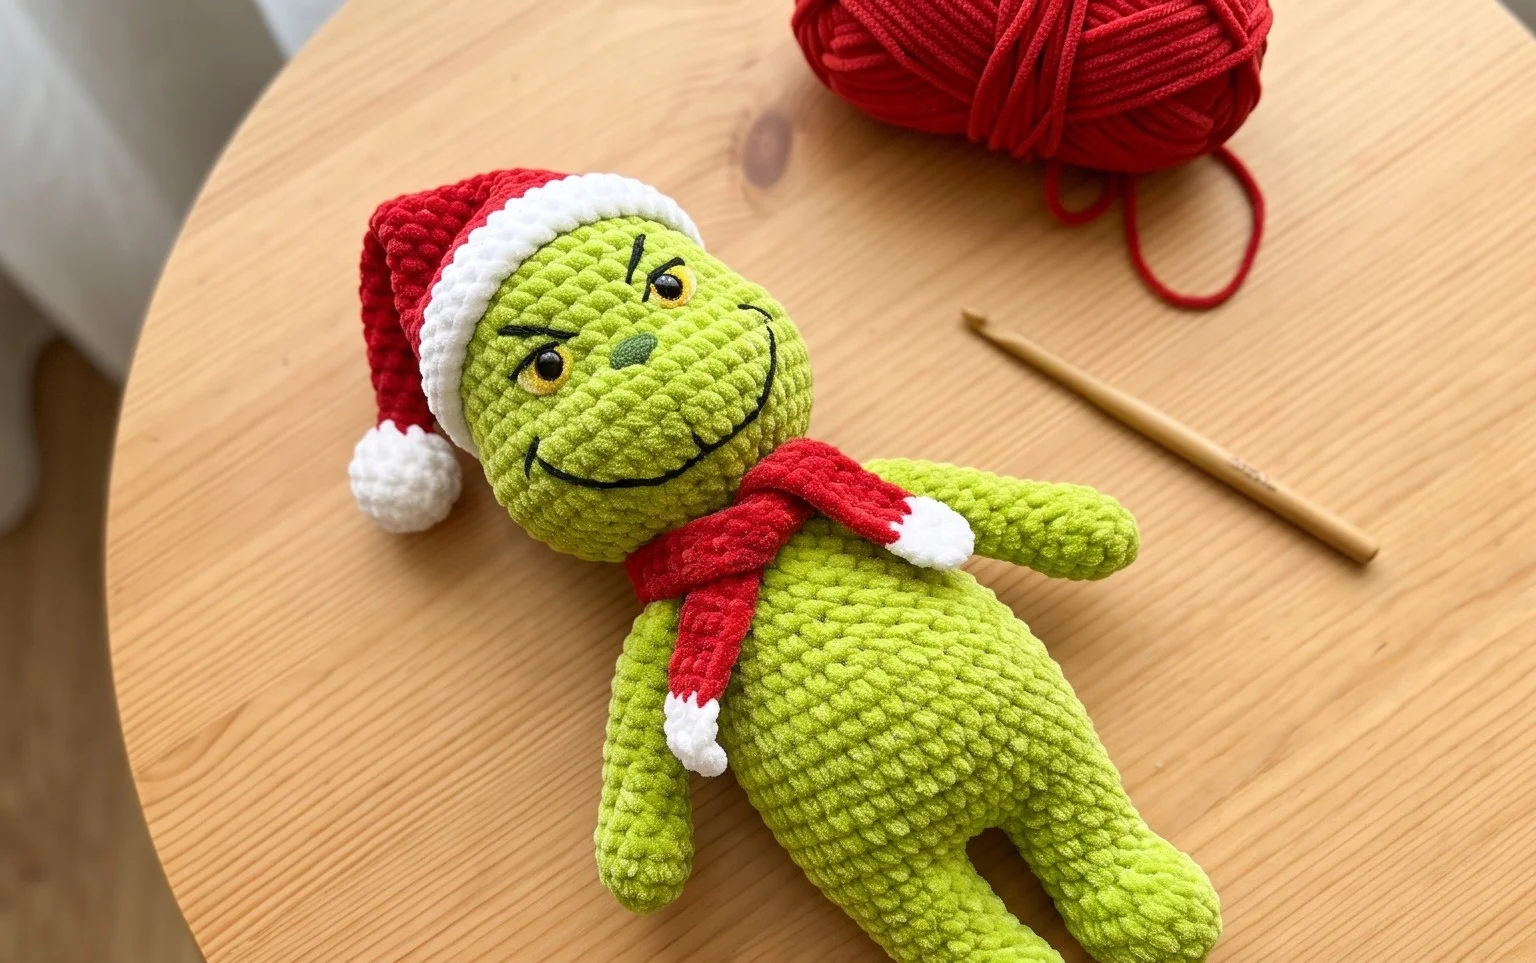
Easy Holiday Table Runner Crochet Pattern for Beginners
Straight rows of crochet can turn a few skeins of yarn into a soft runner that brings a handmade touch to a holiday table. This project has a neat, lightly textured surface and a long shape that sits neatly beneath a centerpiece or a row of serving dishes. Beginners can practice keeping their stitches even, while more experienced makers can enjoy a calm project between busier seasonal tasks. It also makes a thoughtful handmade gift for someone who likes simple, useful home decor. In this tutorial, you’ll learn how the stitch repeat builds the fabric and how to keep the edges straight as you work back and forth. The steady rhythm makes it satisfying to watch the runner grow row by row, and you can adjust its length to suit your table.
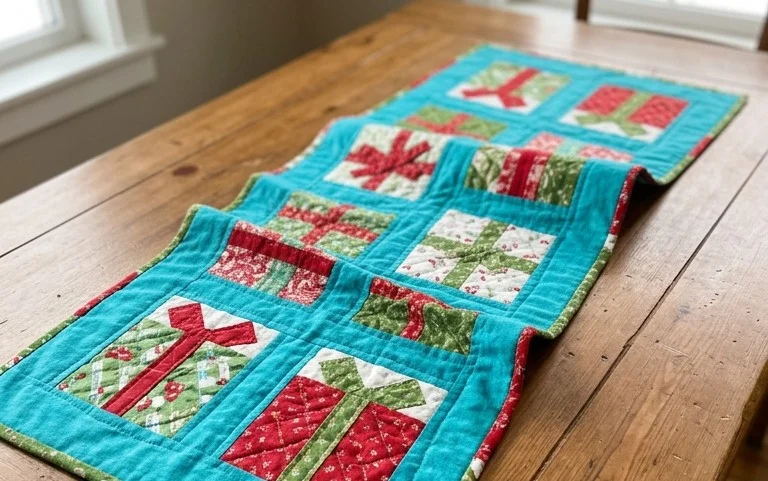
Why You’ll Love This Pattern
A firm cotton dishcloth is useful at the sink, and its simple square shape makes this a comfortable first project with single crochet. The fabric is dense enough for everyday wiping when you keep your tension even, while the straight rows give you plenty of practice finding the first and last stitch. One skein will usually make more than one cloth, depending on its yardage and your finished size.
The repeat is easy to remember, so you can work a few rows at a time without tracking a complicated stitch pattern. This cloth also uses a small amount of yarn, which makes it a sensible project for leftover worsted cotton. Make the first one in a light color; it is easier to see individual stitches while you learn to count the row edges.
The rows were easy to follow, and I had a useful cotton cloth ready by the end of the afternoon.
— Maya, beginner crocheter
Pattern Overview & Skill Level
- Skill Level: Beginner. You need to chain and make single crochet stitches.
- Approximate Time: About 2–3 hours, depending on your pace and how often you pause to count.
- Construction: A flat square worked back and forth in rows, with no seaming or border.
- Finished Dimensions & Sizing: About 7.5 × 8 inches (19 × 20 cm) at the gauge below. Small differences in tension will change the final size.
This is a practical dishcloth size for hand washing dishes or wiping counters. The finished fabric should feel firm but still bend easily. If your sample is stiff enough to stand on its edge, try a larger hook; if it has open gaps, try a smaller hook.
Materials & Supplies Needed
- Yarn: About 65–80 yd (60–73 m) of worsted-weight cotton yarn, #4, in one color. Choose 100% cotton or a cotton-rich blend intended for washing.
- Hook Size: 5.0 mm / H-8 crochet hook. Use a different size if needed to reach gauge and a flexible, dense fabric.
- Notions: Tapestry needle for weaving in the two ends, scissors, and a ruler or measuring tape. A stitch marker is optional for marking the first stitch at each row edge.
- Gauge: 16 single crochet stitches and 18 rows measure 4 inches (10 cm) after light washing and drying. Gauge is less important than a square shape and a fabric that absorbs water without large holes.
- Safe substitutions: Worsted cotton in another brand or color is suitable if it has a similar thickness. Cotton blends may feel softer or stretchier. Acrylic can be used for a general cleaning cloth, but it may absorb water differently and can feel less suitable for wiping dishes. Changing yarn thickness or hook size will change the cloth’s dimensions and yardage needs.
Stitch Guide & Abbreviations (US Terms)
- ch = chain.
- sc = single crochet. Insert the hook in the stitch, yarn over and pull up a loop, yarn over and pull through both loops.
- st(s) = stitch or stitches.
- beg = beginning.
The turning chain at the start of a row does not count as a stitch. Work the first single crochet into the first stitch of the previous row, directly below the turning chain. This keeps the side edges straight and maintains the 30-stitch count.
Step-by-Step Pattern Instructions
Dishcloth
- Foundation: Ch 31. The chain at the hook does not count as a stitch.
- Row 1: Sc in the second ch from the hook and in each ch across. Turn. (30 sts)
- Rows 2–36: Ch 1, sc in each st across, working the first sc in the first stitch below the turning chain. Turn. (30 sts each row)
After Row 36, measure the cloth. It should be close to 7.5 inches wide and 8 inches tall at the stated gauge. If the piece is slightly longer or shorter, that is fine for a dishcloth; prioritize keeping the sides straight and the fabric easy to handle. If you want to match the sample dimensions more closely, check your gauge before making another cloth.
Finishing
Fasten off, leaving a tail of about 6 inches (15 cm). Pull the yarn through the final loop to secure it. Thread the tail onto a tapestry needle and weave it through several stitches on the wrong side, changing direction once so it is less likely to work loose. Weave in the starting tail the same way, then trim the remaining yarn close without cutting into the fabric.
Wash the cloth once before use to remove any manufacturing residue and let the stitches settle. Check that it lies flat. If an edge curls, dampen the cloth and smooth it into a square while it dries. Do not stretch it hard, since that can make the rows uneven.
Care & Washing Instructions
- For cotton yarn, machine wash with like colors in warm water, up to 40°C (104°F), or follow the yarn label if it gives a lower limit.
- Dry flat when possible; reshape the cloth while damp, or tumble dry on low if the yarn label permits it.
- Lightly block by smoothing the damp cloth into a square; avoid stretching the corners or using high heat.
Pro Tips & Common Mistakes to Avoid
- Check your tension: Keep the chain loose enough for the hook to enter easily. A tight foundation chain can make the bottom edge narrower than the rest of the cloth. If that happens, remake the chain with a larger hook, then switch back to the main hook for Row 1.
- Count each row: Confirm that you have 30 stitches before turning. Place a marker in the first stitch if the edge stitch is hard to see, and move it up as you work. Missing the last stitch gradually narrows the square.
- Hide ends securely: Weave each tail through the backs of several stitches, then change direction. Avoid leaving a short tail exposed on the working surface, where repeated washing can loosen it.
- Adjust size with a plan: For a wider cloth, add chains to the foundation; each extra chain adds one stitch to the row. For a taller cloth, work more rows. Both changes use more yarn, and a larger hook or thicker yarn will also make the finished cloth larger.
Frequently Asked Questions
Can I use a different yarn fiber?
Yes, but cotton is a dependable choice for a dishcloth because it absorbs water and tolerates regular washing. A cotton blend may be stretchier, while acrylic may absorb less effectively. Always check the yarn label for washing instructions.
How can I make the cloth smaller or larger?
Change the foundation chain to adjust the width and work fewer or more rows to adjust the height. Keep the sides square by measuring as you go. A larger cloth uses more yarn, so check your remaining yardage before adding many stitches or rows.
Is this pattern suitable for a first crochet project?
Yes. It uses only chains and single crochet in straight rows. The main challenge is recognizing the first and last stitch at each edge. Count all 30 stitches at the end of each row until the edges become easy to read.
May I sell dishcloths made from this pattern?
Check the designer’s terms before selling finished items, and follow any limits on commercial use or pattern attribution. If you sell the cloth, describe the fiber accurately and include care information from the yarn label.
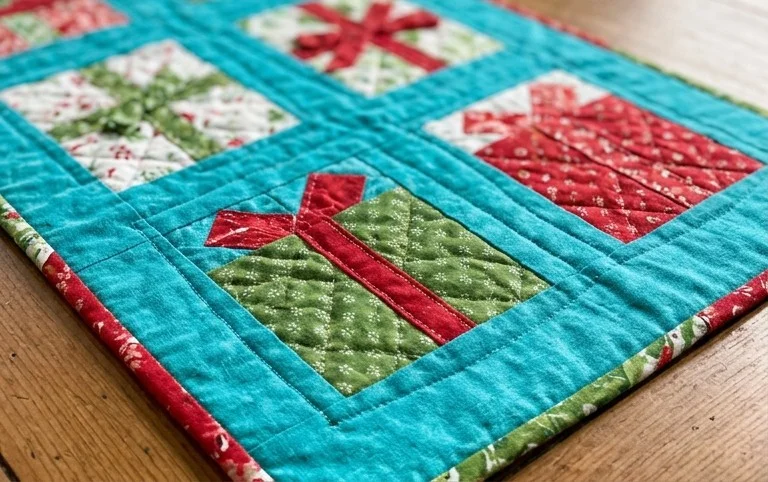
Your finished runner brings a handmade detail to the holiday table, with each even row adding a little more texture and length. For a simple variation, work the same pattern in two colors and change shades every few rows to create calm stripes that suit your table linens. Before using or gifting it, weave in the yarn ends securely and lay the piece flat so the edges settle into shape. If you make one, share a photo on Pinterest or your favorite social platform; it’s lovely to see how different colors look in each home. When you’re ready for another project, explore more free crochet patterns on the blog, including practical pieces for everyday use and seasonal decorating.