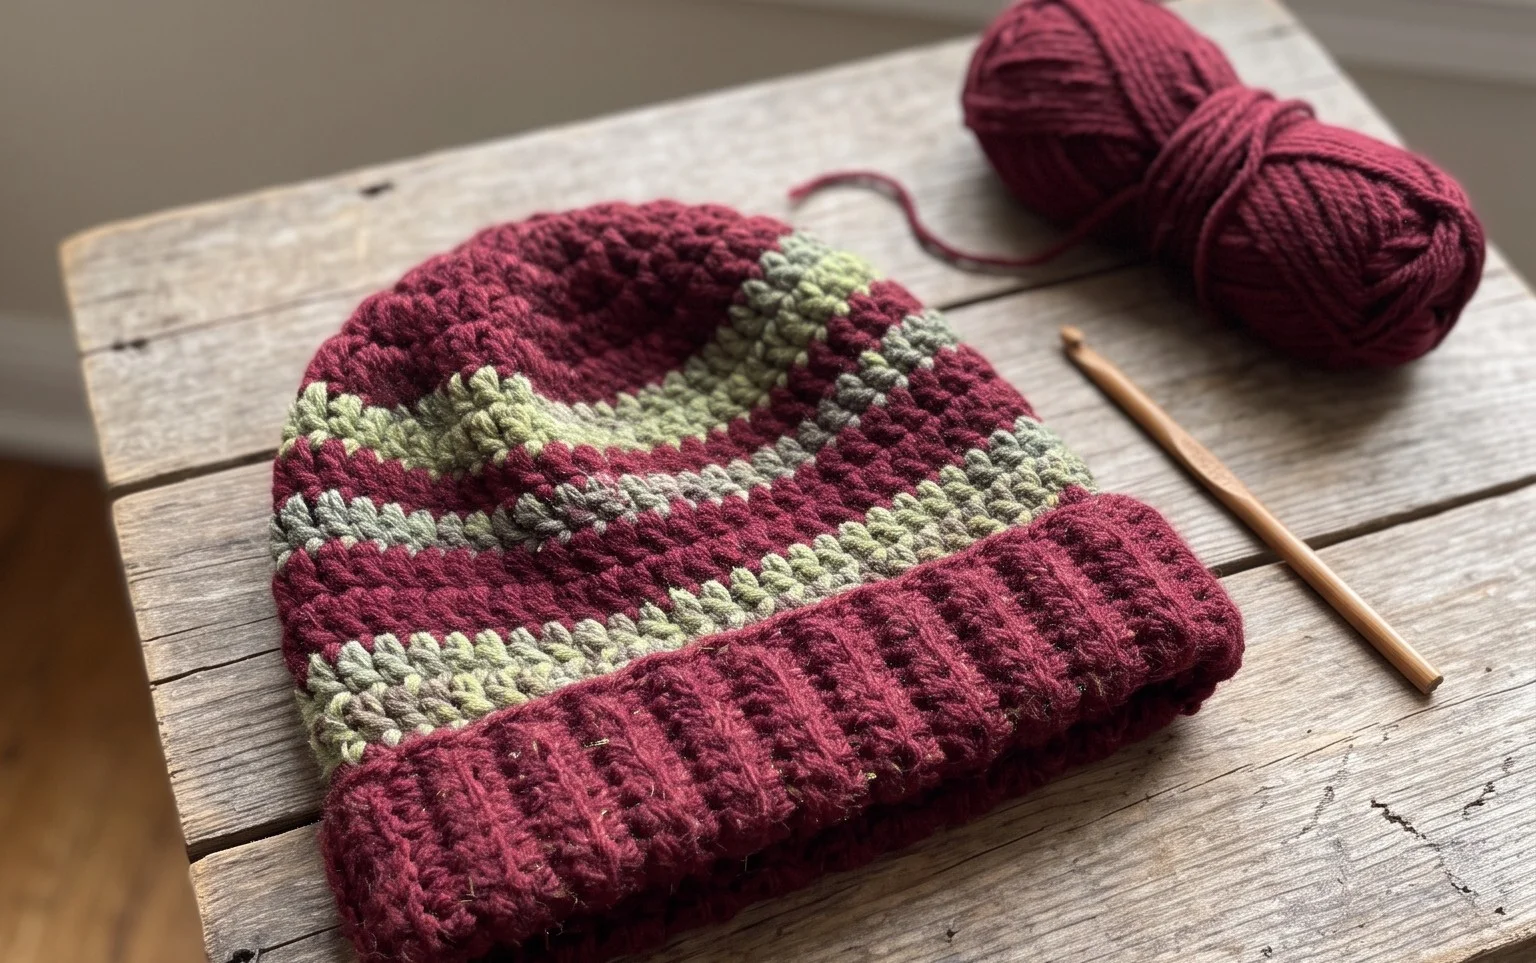
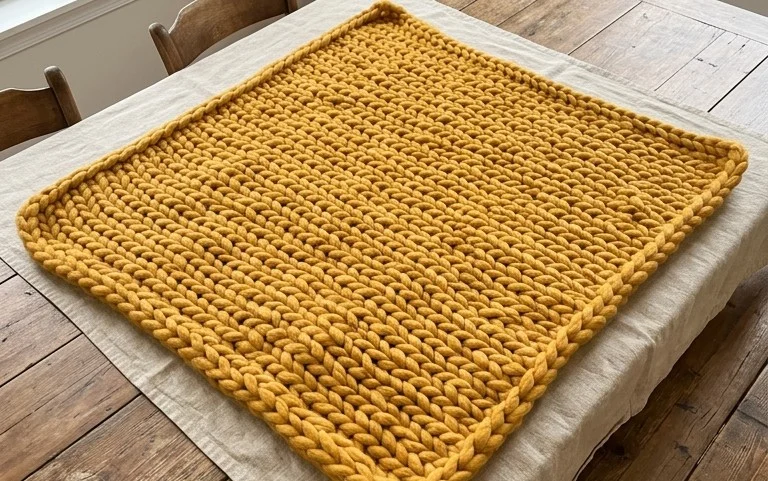
Easy Autumn Table Topper: Free Crochet Pattern Tutorial
This simple cotton coaster sits firmly on a wooden surface with a satisfying, dense weight that keeps your hot coffee mug from sliding. Creating these warm-toned rounds is a meditative process that helps you build muscle memory for uniform stitch height, making it a reliable project for those just starting their fiber arts journey. You will master the rhythm of increasing rounds to keep the fabric perfectly flat without any wavy edges or curling. It serves as a practical addition to your home decor that protects furniture while adding a touch of handmade charm to your side table during the cooler months.
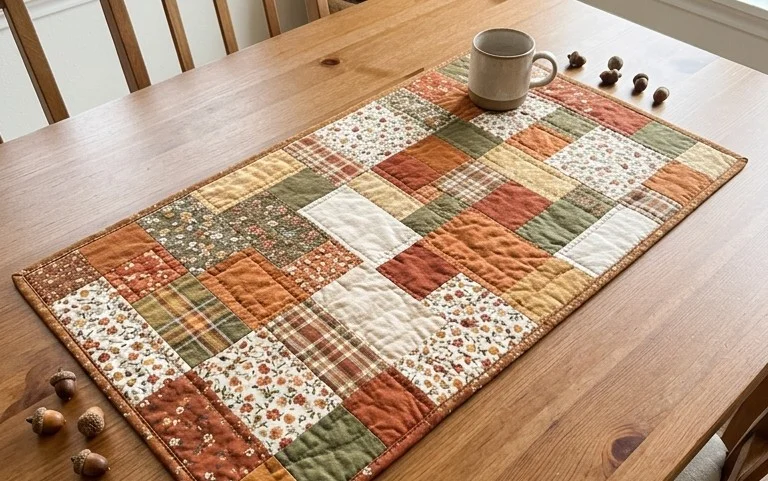
Why You’ll Love This Pattern
This beginner-friendly crochet coaster pattern uses simple single crochet stitches and a tight tension to create a sturdy, heat-resistant surface for your favorite mugs. The project works up in under twenty minutes, making it an ideal choice for using up small amounts of leftover cotton yarn from larger projects. Its circular construction is a foundational skill for any amigurumi or hat design, providing a low-stakes environment to practice increasing rounds without the pressure of complex shaping.
I managed to finish a full set of four coasters in one evening while watching a movie. The instructions were easy to follow and the final result lays perfectly flat on my coffee table.
— Sarah, hobbyist crocheter
Pattern Overview & Skill Level
- Skill Level: Beginner
- Approximate Time: 20 minutes per coaster
- Construction: Worked in continuous rounds from the center outward
- Finished Dimensions: Approximately 4 inches in diameter
Materials & Supplies Needed
- Yarn: Worsted weight (#4) 100% cotton yarn, approximately 15 yards per coaster. Cotton is essential for heat resistance and absorbency.
- Hook Size: 4.5 mm (US size 7) hook to maintain a tight, dense fabric.
- Notions: Tapestry needle for weaving ends, stitch marker to track the start of rounds.
- Safe yarn substitutions: Acrylic yarn may melt if a very hot mug is placed on it; avoid synthetic fibers for this specific project. Using a DK weight yarn will result in a smaller coaster, while bulky yarn will require hook adjustment and fewer increase rounds to keep it flat.
Stitch Guide & Abbreviations (US Terms)
- MR: Magic Ring (an adjustable loop to start the round)
- ch: chain
- sc: single crochet
- inc: 2 single crochet in the same stitch (increase)
- sl st: slip stitch to join
- st/sts: stitch/stitches
Step-by-Step Pattern Instructions
Coaster Body
- Rnd 1: Start with a MR, work 6 sc into the ring. Tighten the ring (6 sts).
- Rnd 2: Work 2 sc in each st around (12 sts).
- Rnd 3: 1 sc, inc repeat 6 times (18 sts).
- Rnd 4: 1 sc in next 2 sts, inc repeat 6 times (24 sts).
- Rnd 5: 1 sc in next 3 sts, inc repeat 6 times (30 sts).
- Rnd 6: 1 sc in next 4 sts, inc repeat 6 times (36 sts).
Finishing
Once you complete Round 6, work one slip stitch into the next stitch to smooth the edge. Fasten off your yarn, leaving a 4-inch tail. Pull the tail through the final loop to secure it. Use your tapestry needle to weave the end through the back loops of the final round, pulling gently to hide the transition between the last stitch and the first stitch. Trim any excess yarn close to the fabric.
Care & Washing Instructions
- Machine wash on a delicate cycle in cool water using a mild detergent.
- Lay the coaster flat on a clean towel and reshape it while damp to ensure it remains perfectly round.
- Avoid using a tumble dryer, as heat can shrink cotton fibers and distort the shape of the coaster.
Pro Tips & Common Mistakes to Avoid
- Maintain consistent tension throughout the project; if your stitches are too loose, the coaster will lose its heat-protecting properties.
- Always place a stitch marker in the first stitch of every round. Because this is worked in a continuous spiral rather than joining with a slip stitch, it is easy to lose track of where your round ends.
- Weave your ends in multiple directions to ensure they do not pop out after repeated use and washing.
- If you want a larger coaster, add additional rounds following the 1 sc in next X sts, inc formula, where X is the number of stitches before the increase. Note that increasing the diameter will require more yarn and may lead to a wavy edge if your tension is too loose.
Frequently Asked Questions
Can I use acrylic yarn for these coasters?
While possible, acrylic yarn is prone to melting when exposed to high heat from ceramic mugs. Stick to 100% cotton, linen, or wool for the best durability and safety.
Why is my coaster curling into a bowl shape?
Curling usually happens if your tension is too tight or you are missing increases. Ensure you have the full 6 stitches added in every round to keep the fabric flat.
Is this pattern suitable for someone holding a hook for the first time?
Yes, this is an excellent starter project. It teaches the magic ring and the basic math of flat circular crochet without requiring complex color changes or counting long rows.
Am I allowed to sell coasters made from this pattern?
You are welcome to sell finished items you create yourself. Please credit the original pattern design when listing your products online or at craft markets.
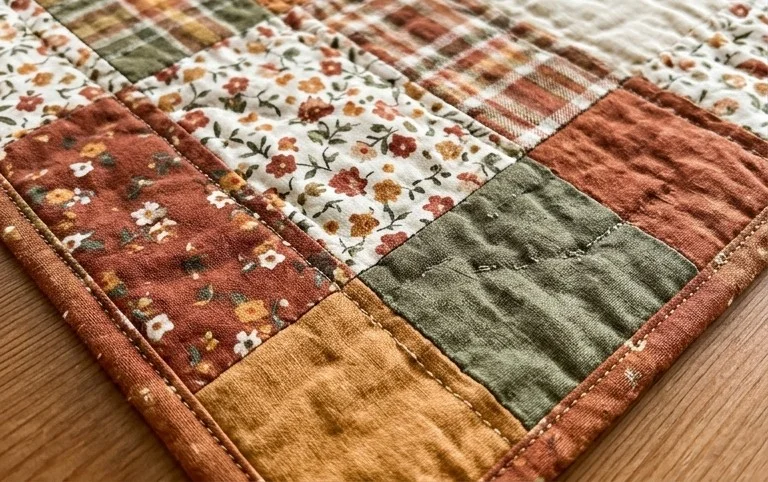
Your finished table topper provides a sturdy and functional base that holds up to daily use in your kitchen or office. If you want to change the look, try using a variegated cotton yarn to create a subtle marled effect across the surface. Once you have a few finished, take a photo and share it with the community online so we can see your color choices. Browse through the rest of the site for more free patterns to fill your afternoon with productive making.