Easy Crochet Beanie Pattern: Free Step-by-Step Guide
Soft wool against your forehead makes the brisk wind of a morning commute much more bearable. This hand-crocheted accessory combines a structured brim with a slouchy, comfortable crown that stays put while you move throughout your day. Whether you are searching for a quick gift to create for a friend or simply want a quiet weekend project to keep your hands busy, this simple design offers a relaxing rhythm that builds quickly. You will learn to work in continuous rounds using basic post stitches to create a dense, warm fabric that feels professional and tidy.
Why You’ll Love This Pattern
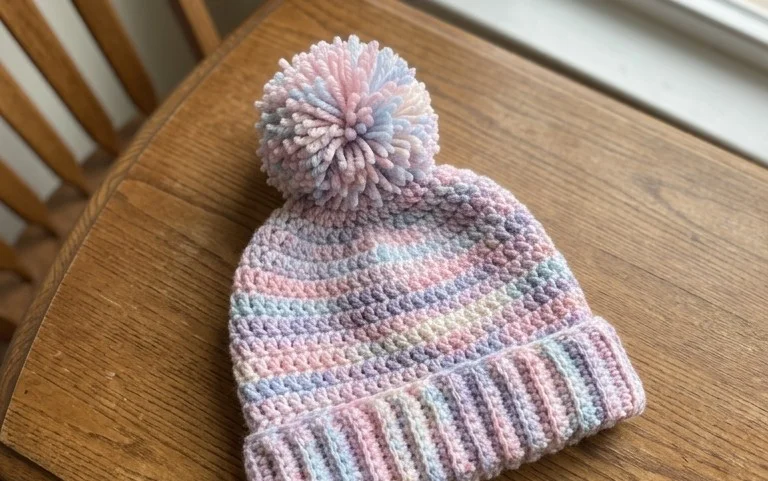
This classic crochet beanie pattern relies on a simple repeating stitch sequence that makes it an ideal choice for relaxing evening projects. Because it uses a medium weight yarn and basic construction, you can complete the entire piece in a single weekend. The design features a fitted silhouette that provides excellent warmth while maintaining a clean, modern aesthetic. Since the pattern requires minimal shaping, it serves as a reliable go-to project for crocheters looking to build confidence with circular projects.
I finished this hat in two nights while watching television and the fit is exactly what I wanted for my winter commute.
— Sarah, hobbyist crocheter
Pattern Overview & Skill Level
- Skill Level: Beginner
- Approximate Time: 4 to 6 hours
- Construction: Worked in joined rounds from the bottom up, starting with a ribbed brim followed by a simple stitch pattern for the main body.
- Finished Dimensions & Sizing: Adult medium, measuring 20 inches in circumference and 9 inches in height.
Materials & Supplies Needed
- Yarn: Worsted #4 weight, wool or acrylic blend, approximately 200 yards.
- Hook Size: 5.0 mm (H-8).
- Notions: Tapestry needle for weaving in ends, one stitch marker to track round starts, and a measuring tape.
- Safe yarn substitutions: You may use cotton yarn, though it lacks the natural stretch of wool and will result in a firmer, less elastic fit. Ensure you maintain the same gauge, or the hat will be too tight for an average adult head.
Stitch Guide & Abbreviations (US Terms)
- ch = chain
- sc = single crochet
- dc = double crochet
- sl st = slip stitch
- BLO = back loop only (insert hook under the back loop of the stitch instead of both loops)
- st/sts = stitch/stitches
- dc2tog = double crochet two stitches together (decrease)
Step-by-Step Pattern Instructions
Brim
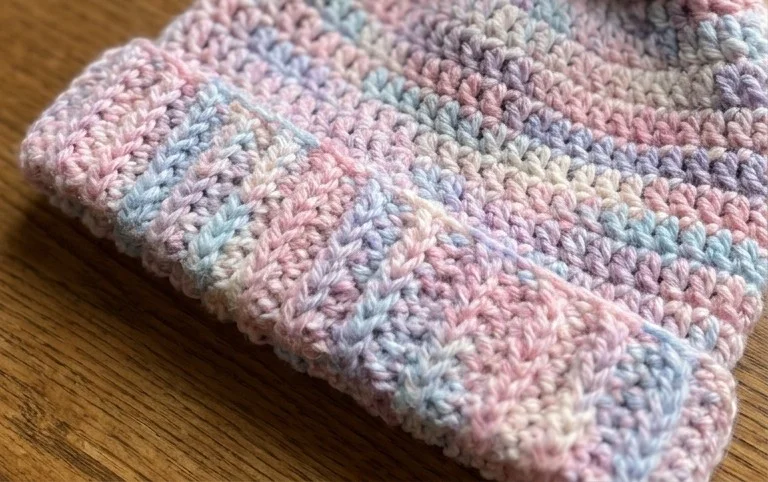
The brim provides the necessary elasticity to keep the hat secure on your head.
- Row 1: Ch 9. Sc in the second ch from hook and each ch across. Ch 1, turn. (8 sts)
- Rows 2–70: Sc in BLO of each st across. Ch 1, turn. (8 sts)
- Assembly: Bring the two ends together and slip stitch through both layers to create a circle. Turn the work so the seam faces the inside. Do not fasten off.
Hat Body
This section transitions the brim into the main body of the beanie.
- Rnd 1: Ch 1, work 70 sc evenly around the edge of the brim. Join with a sl st to the first sc. (70 sts)
- Rnds 2–15: Ch 2 (counts as first dc). Dc in each st around. Join with a sl st to the top of the ch-2. (70 sts)
Crown Shaping
These rounds draw the fabric inward to close the top of the beanie.
- Rnd 16: Ch 2. Dc in the next 5 sts, dc2tog over the next 2 sts. Repeat from * to * around. Join with a sl st. (60 sts)
- Rnd 17: Ch 2. Dc in the next 4 sts, dc2tog. Repeat from * to * around. Join with a sl st. (50 sts)
- Rnd 18: Ch 2. Dc in the next 3 sts, dc2tog. Repeat from * to * around. Join with a sl st. (40 sts)
- Rnd 19: Ch 2. Dc in the next 2 sts, dc2tog. Repeat from * to * around. Join with a sl st. (30 sts)
- Rnd 20: Ch 2. Dc, dc2tog. Repeat from * to * around. Join with a sl st. (20 sts)
- Rnd 21: Dc2tog 10 times. (10 sts)
Finishing
Cut your yarn, leaving a 10-inch tail. Thread the tail onto a tapestry needle and weave it through the remaining 10 stitches. Pull firmly to close the hole, secure with a knot on the inside, and weave in your ends.
Care & Washing Instructions
- Hand wash in cool water using a mild wool detergent to prevent felting.
- Lay the hat flat on a towel to air dry, ensuring you reshape it into a circle while damp.
- Do not hang the hat to dry, as the weight of the water will stretch the fibers and distort the crown shape.
Pro Tips & Common Mistakes to Avoid
- Maintain consistent tension throughout the crown decrease rounds to ensure the top of the hat lays flat rather than puckering.
- Always place a stitch marker at the first stitch of every round; this prevents you from losing your place when working with dark-colored yarns.
- Weave your yarn ends into the wrong side of the work to keep the exterior looking professional and clean.
- To adjust the size, add or subtract stitches from your foundation chain in increments of two, but note that this will alter the total yarn consumption required for the project.
Frequently Asked Questions
Can I use a different hook size for this project?
Using a different hook size will change your gauge significantly. If you use a larger hook, the hat will be larger and more porous; a smaller hook will make the hat stiffer and smaller. Stick to the recommended 5.0 mm hook for the best results.
Is this pattern suitable for complete beginners?
Yes, this pattern uses only standard stitches like single and double crochet. If you can maintain even tension and count your stitches at the end of each round, you will find this project very manageable.
Can I sell the hats I make from this pattern?
You are welcome to sell finished items made from this pattern, but please provide credit to the designer in your product listings. Do not copy or redistribute the written pattern itself.
Why does the seam look visible on the brim?
The seam is a natural byproduct of joining rows in circular crochet. To minimize its appearance, ensure you pull your slip stitches tight when joining the brim and work your initial sc stitches into the brim tightly.
Finishing the final round and attaching a large yarn topper provides a sense of accomplishment that store-bought items just cannot replicate. You might try holding two strands of thinner yarn together to create a chunkier, variegated look for your next version of this hat. Please share a photo of your finished work online so others can see your color choices and unique style. Our blog has many other winter accessory tutorials waiting for your hook if you want to keep stitching through the cold season.