DIY Chunky Hand Knit Blanket: Free Beginner Pattern
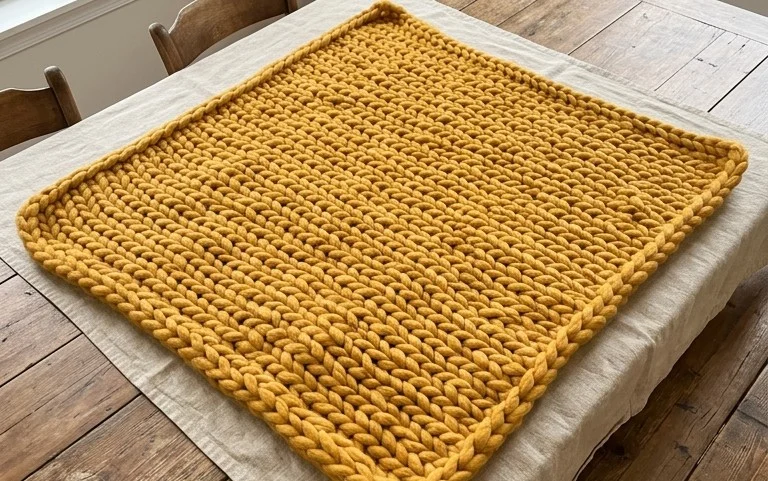
Giant, plush yarn loops create an incredibly soft texture that feels like a warm hug on a cold winter morning. This project is a quick win for anyone needing a cozy addition to their living room couch or a thoughtful handmade gift. You do not need any needles or hooks, just your own two hands and a few skeins of thick, chenille-style yarn. Learning the simple finger-looping technique takes only a few minutes, making it accessible even if you have never worked with fiber before. Your finished blanket will look like a high-end designer piece in under two hours.
Why You’ll Love This Pattern
The Classic Crochet Granny Square is the foundation of many heirloom blankets, cardigans, and home decor items. This pattern uses a simple three-double-crochet cluster technique that works up quickly, making it ideal for clearing out your yarn stash. Because each round builds upon the previous one, you can easily adjust the size of your square by simply adding more rounds. The repetitive nature of the stitches provides a meditative experience that allows you to focus on maintaining even tension throughout the project.
I finally mastered the granny square after struggling with other patterns, and the clear instructions made all the difference in keeping my corners sharp and flat.
— Sarah, hobbyist maker
Pattern Overview & Skill Level
- Skill Level: Beginner
- Approximate Time: 30 to 45 minutes per square
- Construction: Worked in joined rounds, starting from the center and expanding outward
- Finished Dimensions: Approximately 6 inches square using worsted weight yarn
Materials & Supplies Needed
- Yarn: Worsted weight (#4) acrylic or wool blend, approximately 20 yards per square.
- Hook Size: 5.0 mm (H-8) aluminum or ergonomic crochet hook.
- Notions: Tapestry needle for weaving in ends, sharp scissors.
- Yarn Substitutions: You may use DK weight yarn with a 4.0 mm hook for a smaller, tighter square, or bulky weight yarn with a 6.0 mm hook for a larger, quicker square. Note that changes in yarn weight will alter the final dimensions.
Stitch Guide & Abbreviations (US Terms)
- ch: chain
- st/sts: stitch/stitches
- sl st: slip stitch
- dc: double crochet
- Cluster: 3 dc worked into the same space
- sp: space (the gap created by ch-1 or ch-2)
Step-by-Step Pattern Instructions
Center and First Rounds
- Start: Ch 4, join with sl st to the first ch to form a ring.
- Rnd 1: Ch 3 (counts as first dc), work 2 dc into the ring, ch 2, *3 dc into the ring, ch 2; repeat from * two more times. Join with sl st to top of beg ch-3. (12 dc, 4 ch-2 spaces)
- Rnd 2: Sl st into the next dc and into the corner ch-2 sp. Ch 3, 2 dc in same sp, ch 2, 3 dc in same sp. *Ch 1, (3 dc, ch 2, 3 dc) in next corner sp; repeat from * twice more. Ch 1, join with sl st to top of beg ch-3. (24 dc, 8 ch-1/ch-2 spaces)
- Rnd 3: Sl st into the next 2 dc and into the corner ch-2 sp. Ch 3, 2 dc in same sp, ch 2, 3 dc in same sp. *Ch 1, 3 dc in the next ch-1 side sp, ch 1, (3 dc, ch 2, 3 dc) in next corner sp; repeat from * twice more. Ch 1, 3 dc in the last ch-1 side sp, ch 1, join with sl st to top of beg ch-3. (36 dc, 12 ch-1/ch-2 spaces)
Finishing
To finish, fasten off your yarn, leaving a 6-inch tail. Use your tapestry needle to weave the yarn tail securely through the back loops of the stitches on the reverse side of the square. Trim any excess yarn close to the fabric to ensure a neat, professional appearance.
Care & Washing Instructions
- Hand wash in cool water using a mild detergent specifically formulated for knit and crochet items.
- Lay the square flat on a clean towel and reshape it to its original square dimensions while damp.
- Avoid using a tumble dryer, as high heat can shrink synthetic fibers and distort the stitch definition.
Pro Tips & Common Mistakes to Avoid
Consistent tension is the most important factor in keeping your square flat. If you notice the square curling or pulling inward, your tension is likely too tight; if it ripples, your tension is too loose. Always place a stitch marker in the top of your beginning ch-3 to easily identify the point where you need to join your rounds. When weaving in your ends, ensure you work in multiple directions to prevent the stitches from unraveling over time. Adjusting the size is simple; you can make the square as large as you like by repeating the Rnd 3 instructions, increasing the number of 3-dc clusters in each ch-1 space as the side lengths grow.
Frequently Asked Questions
Can I use a different yarn weight for this pattern?
Yes, you can use any weight of yarn. Just remember to choose a hook size that feels comfortable and produces a fabric you enjoy, typically one size smaller than the size recommended on the yarn label.
Why is my square not laying flat?
This is usually due to tight tension or adding too few stitches in the corners. Ensure you are working a full ch-2 between your corner clusters to provide enough space for the turn.
Is it okay to sell finished items made from this pattern?
You are welcome to sell items made from this design, provided you credit the original pattern designer in your listing or tags. Always check the specific terms of use provided by the pattern source if you are working from a larger collection.
How do I join multiple squares together?
You can join squares using a whip stitch with a tapestry needle or by working a row of single crochet stitches through both layers, which creates a decorative, raised seam.
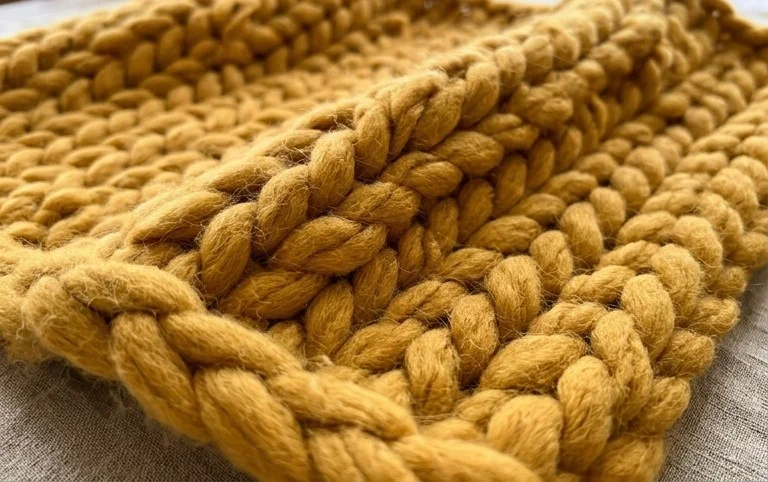
Wrapping yourself in a soft, handmade blanket makes the quiet moments of your day feel much more special. You can swap the standard neutral cream yarn for a deep charcoal or forest green if you want a bolder look for your bedroom. Posting a picture of your finished work online helps inspire other makers who are just starting their own creative journey. Check out my full library of other free fiber arts projects on the blog for more inspiration on your next weekend afternoon project.