Easy Round Crochet Placemat Free Pattern Step-by-Step
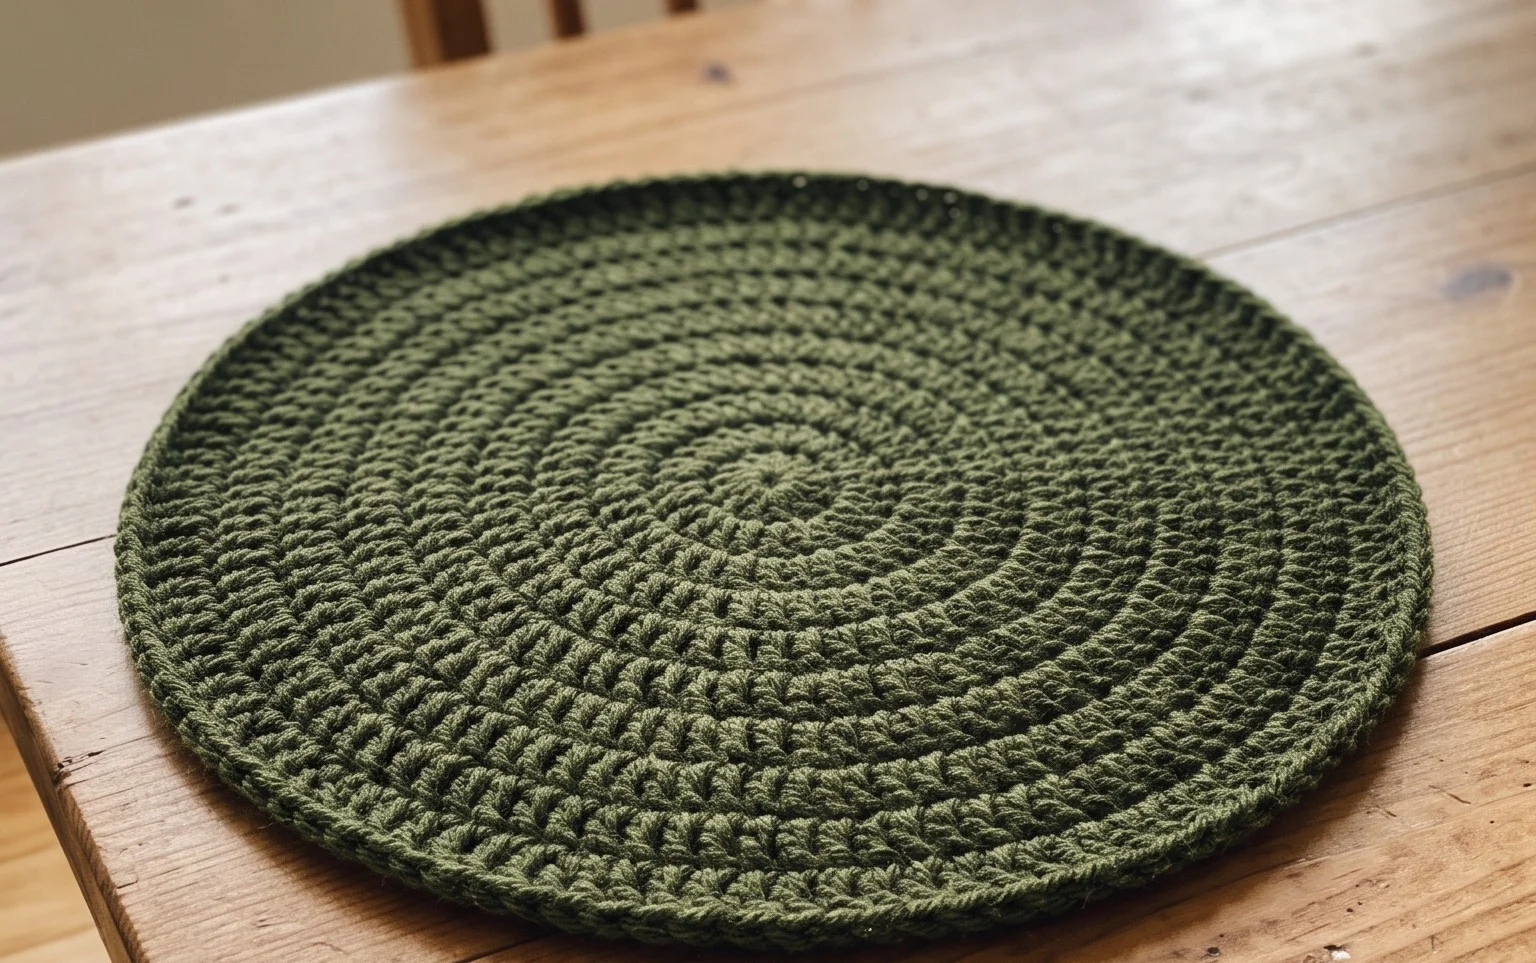
Crisp cotton yarn creates a dense, sturdy surface that feels substantial under a glass or dinner plate. This round project provides a quick win for your home decor, offering a clean and modern look that suits any dining room table or coffee nook. Whether you are a total beginner or just need a mindless project to finish during a long evening, the rhythmic nature of working in joined rounds provides a relaxing flow. You will master the fundamental technique of increasing at a steady rate to keep your stitches flat and professional, ensuring your finished work lies perfectly smooth on your furniture.
Why You’ll Love This Pattern
This beginner-friendly crochet coaster pattern is the ideal project for using up small amounts of leftover cotton yarn. Because it works up in only five rounds, you can easily create a full set of four in a single afternoon. The resulting texture is dense enough to protect your wooden tables from condensation while remaining flexible enough to handle daily wear. It relies on a classic circular construction, making it an excellent way to practice working in joined rounds without the pressure of a larger, complex garment.
I managed to finish a whole set of six coasters in one weekend. The instructions are so clear that I finally understood how to keep my circle edges from ruffling.
— Sarah, hobbyist crocheter
Pattern Overview & Skill Level
- Skill Level: Beginner
- Approximate Time: 30 to 45 minutes per coaster
- Construction: Working in joined rounds, starting from a center ring and expanding with consistent increases
- Finished Dimensions: Approximately 4.5 inches in diameter
Materials & Supplies Needed
- Yarn: Worsted weight (#4) 100% cotton yarn, approximately 15 yards per coaster. Cotton is essential here because it absorbs moisture better than acrylic or wool.
- Hook Size: 5.0 mm (H-8) crochet hook.
- Notions: Tapestry needle for weaving in ends, scissors, and a stitch marker to track the beginning of each round.
- Yarn Substitutions: You may use a bamboo-cotton blend for a softer feel, though it may be slightly less absorbent. Avoid 100% acrylic yarn for coasters, as it does not absorb moisture and can melt if placed under very hot mugs.
Stitch Guide & Abbreviations (US Terms)
- ch = chain
- sc = single crochet
- dc = double crochet
- sl st = slip stitch to join
- st(s) = stitch(es)
- inc = increase (work 2 dc into the same stitch)
- MR = magic ring (or alternate by chaining 3 and joining with a sl st to form a loop)
Step-by-Step Pattern Instructions
Main Coaster Body
- Rnd 1: Start with a MR. Ch 3 (counts as first dc here and throughout), work 11 dc into the ring. Join with a sl st to the top of the initial ch-3. (12 sts)
- Rnd 2: Ch 3, dc in same st, 2 dc in each remaining st around. Join with a sl st to top of ch-3. (24 sts)
- Rnd 3: Ch 3, *1 dc in next st, 2 dc in next st; repeat from * around until 1 st remains, 1 dc in last st. Join with a sl st to top of ch-3. (36 sts)
- Rnd 4: Ch 3, 1 dc in next st, *2 dc in next st, 1 dc in each of next 2 sts; repeat from * around. Join with a sl st to top of ch-3. (48 sts)
- Rnd 5: Ch 1, work 1 sc in every st around. Join with a sl st to the first sc. Fasten off and leave a 6-inch tail for weaving. (48 sts)
Finishing
Thread your yarn tail through a tapestry needle. Weave the end through the back loops of the final round to secure it tightly. Trim any excess yarn close to the fabric, ensuring you do not cut into the stitches themselves. For a professional look, steam block the coasters by pinning them to a flat surface and applying gentle steam from an iron held a few inches above the surface.
Care & Washing Instructions
- Machine wash on a gentle cycle in warm water using mild detergent.
- Lay flat on a clean towel to air dry, reshaping the circle with your fingers while damp.
- Do not bleach or tumble dry, as high heat can cause cotton to shrink and lose its shape.
Pro Tips & Common Mistakes to Avoid
Maintaining consistent tension is the most important factor for a flat coaster. If your work starts to curl into a bowl shape, your tension is too tight; try going up a half-hook size. Conversely, if the edges ruffle, your tension is too loose or your increase rate is too high for your chosen yarn. Always use a stitch marker at the start of each round to avoid losing your place, especially when working in uniform double crochet rounds. To weave in your ends invisibly, follow the direction of the yarn strands in the stitches rather than pulling the thread through the middle of the loops.
Frequently Asked Questions
Can I use a larger hook for this pattern?
Yes, using a larger hook will result in a larger, looser coaster. This is a good way to adjust the size, but remember that the fabric will be less dense and provide less protection for your surfaces.
Is it okay to sell coasters made from this pattern?
You are welcome to sell finished items created from this pattern. I only ask that you credit the original designer in your product listings to help others find the source.
What if my magic ring keeps coming undone?
If you find the magic ring difficult, you can start by chaining 4 and slip stitching into the first chain to create a small ring. Work your stitches into that center space instead of the magic ring.
Why do my coasters look like hexagons instead of circles?
This often happens when increases are stacked directly on top of each other. The pattern is designed to offset the increases slightly to keep the shape round. Ensure you are following the sequence provided in the round instructions carefully.
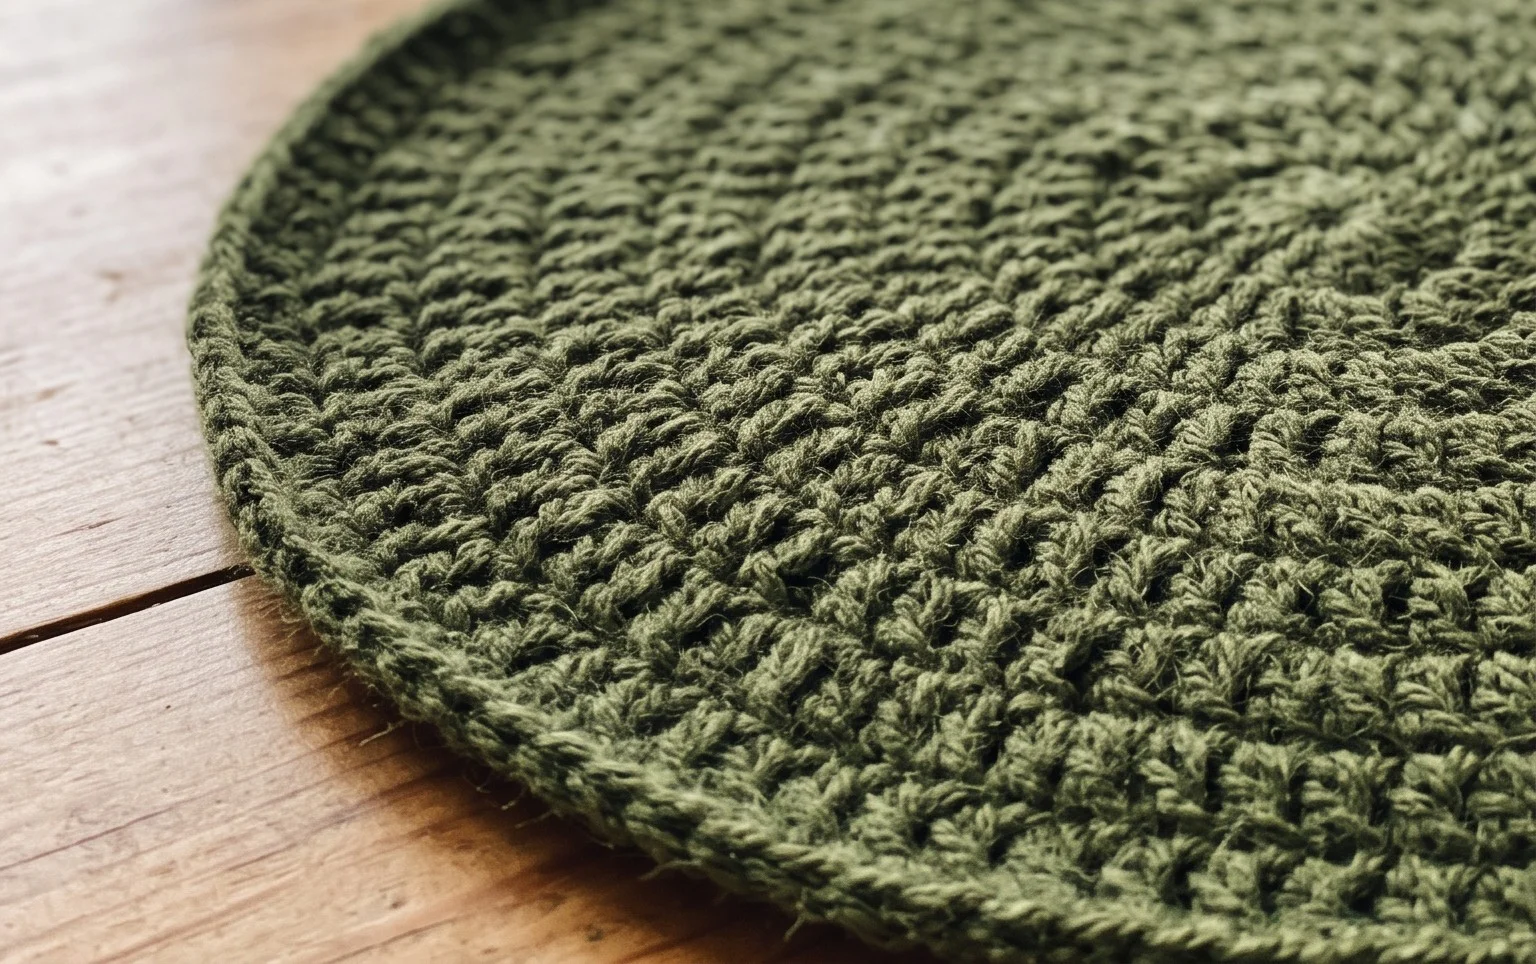
Your finished table setting brings a handmade warmth to your dining room that store-bought items simply cannot replicate. You might consider using a variegated cotton yarn for your next set to introduce a bit of playful color variation, or adjust your hook size to create a larger center piece for a vase. Feel free to snap a photo of your work and post it on your favorite social media page. Be sure to check back on the blog soon for more free pattern ideas and helpful tutorials.