10 Easy Lacy Square Patterns for Beautiful Home Decor
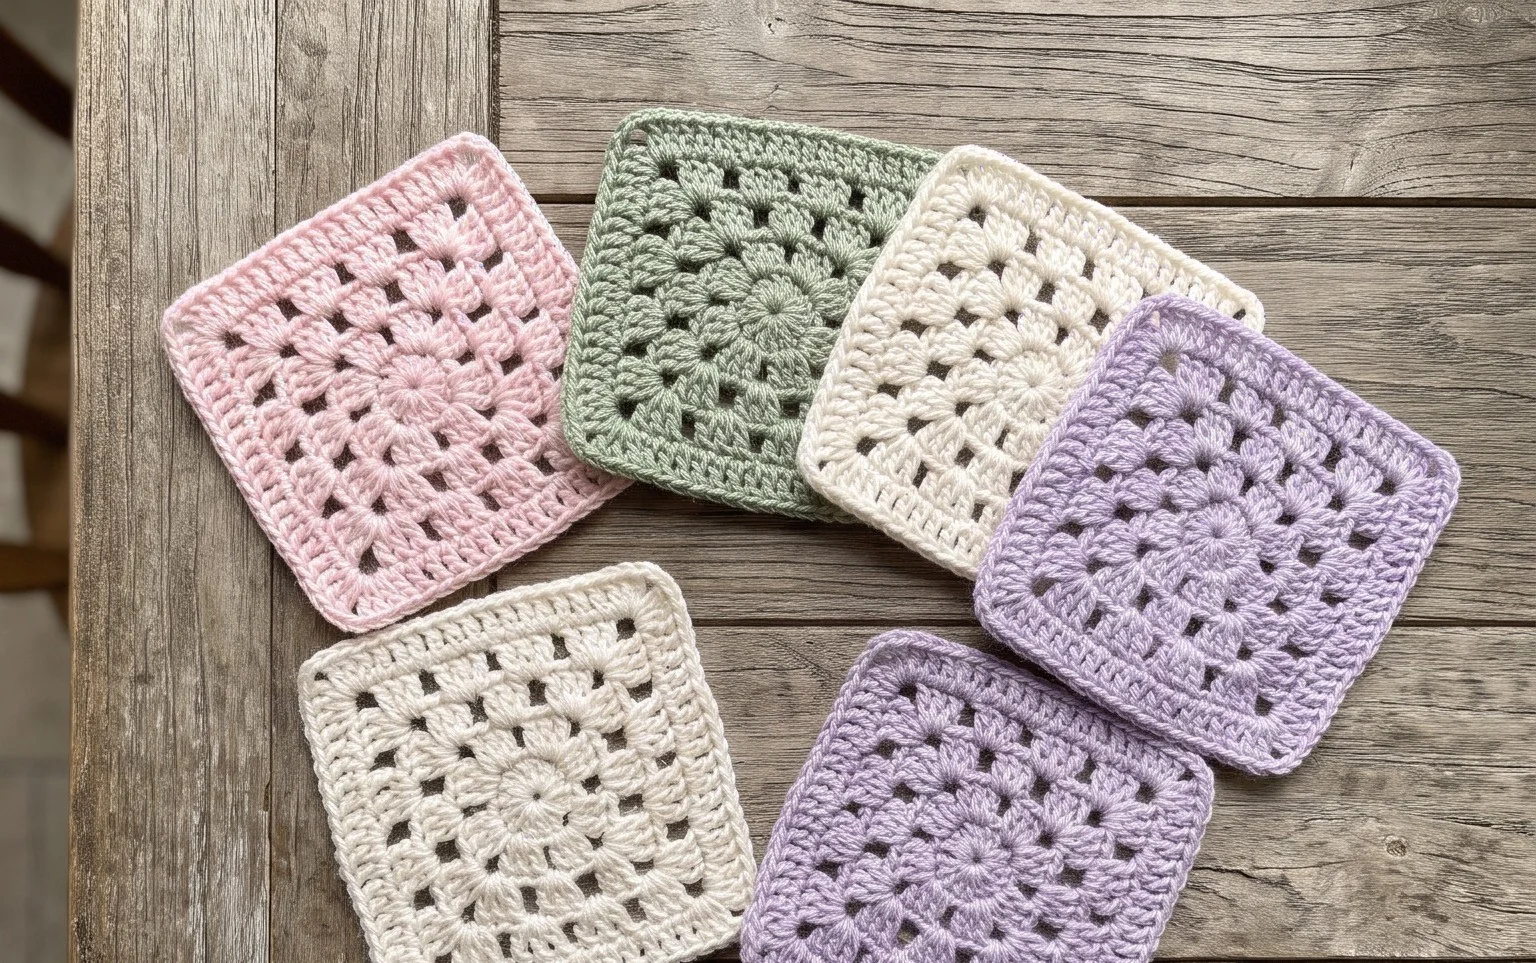
Openwork squares made with delicate thread or light cotton yarn create a fabric that feels light and airy against your skin. These blocks highlight the beauty of intentional holes and gaps that form when you combine simple chain spaces with tall, elongated stitches like treble crochets. Beginners often find these motifs rewarding because they grow quickly and require minimal finishing work. Making these squares teaches you how to maintain consistent tension while counting chain spaces accurately across every row. You can join them to construct large blankets, decorative pillows, or simple table runners for a soft look.
Why You’ll Love This Pattern
The Classic Crochet Storage Basket is a functional project designed for durability and organization. By using two strands of worsted weight yarn held together, the walls of the basket become thick and sturdy enough to hold their shape without collapsing under the weight of craft supplies or yarn cakes. This pattern utilizes the waistcoat stitch, also known as the knit stitch, which creates a clean, vertical alignment of stitches that resembles knitted stockinette fabric while maintaining the speed of crochet. It is a quick project that allows you to clear out leftover yarn from your stash while creating something practical for your workspace.
I needed a small container for my scrap yarn and this basket worked up in a single evening. The fabric is much stiffer than I expected and holds its shape perfectly on my desk.
— Sarah, home crafter
Pattern Overview & Skill Level
- Skill Level: Advanced Beginner
- Approximate Time: 3 to 4 hours
- Construction: Working in joined, continuous rounds starting from a flat circular base and moving into upward-sloping sides
- Finished Dimensions: 8 inches in diameter and 6 inches in height
Materials & Supplies Needed
- Yarn: Worsted weight (#4), cotton blend, approximately 350 yards total. Using two strands held together is required for the specified structure.
- Hook Size: 6.0 mm (J-10) for a tight, firm gauge.
- Notions: Tapestry needle for weaving ends, stitch markers for keeping track of the round start, and a measuring tape.
- Yarn Substitutions: You may substitute with a bulky (#5) acrylic yarn if you prefer not to hold two strands together. Note that acrylic yarn may be slightly less rigid than cotton.
Stitch Guide & Abbreviations (US Terms)
- MR = Magic Ring
- ch = chain
- sc = single crochet
- inc = increase (2 sc in the same stitch)
- sl st = slip stitch
- wst = waistcoat stitch (insert hook into the center “V” of the sc below, yarn over, pull up a loop, yarn over, pull through both loops)
- st/sts = stitch/stitches
Step-by-Step Pattern Instructions
Base of the Basket
- Rnd 1: Start with a MR. Work 6 sc into the ring. Join with a sl st to the first sc. (6 sts)
- Rnd 2: Ch 1. Work 2 sc in each st around. Join with a sl st. (12 sts)
- Rnd 3: Ch 1. 1 sc in next st, inc in next st. Repeat from * to * 6 times. Join with a sl st. (18 sts)
- Rnd 4: Ch 1. 1 sc in next 2 sts, inc in next st. Repeat from * to * 6 times. Join with a sl st. (24 sts)
- Rnd 5: Ch 1. 1 sc in next 3 sts, inc in next st. Repeat from * to * 6 times. Join with a sl st. (30 sts)
- Rnd 6: Ch 1. 1 sc in next 4 sts, inc in next st. Repeat from * to * 6 times. Join with a sl st. (36 sts)
- Rnd 7: Ch 1. 1 sc in next 5 sts, inc in next st. Repeat from * to * 6 times. Join with a sl st. (42 sts)
- Rnd 8: Ch 1. 1 sc in next 6 sts, inc in next st. Repeat from * to * 6 times. Join with a sl st. (48 sts)
Basket Walls
- Rnd 9: Ch 1. Working in the back loops only, 1 sc in each st around. Join with a sl st. (48 sts)
- Rnd 10: Ch 1. Working in the center of each sc stitch from the previous round (waistcoat stitch), 1 wst in each st around. Join with a sl st. (48 sts)
- Rnds 11-20: Repeat Rnd 10. (48 sts)
- Rnd 21: Ch 1. 1 sc in each st around. Join with a sl st. Fasten off and weave in all ends. (48 sts)
Care & Washing Instructions
- Hand wash in cool water with a mild detergent to maintain the shape of the basket.
- Lay flat on a towel to air dry, reshaping while damp to ensure the sides remain vertical.
- Avoid using a tumble dryer, as high heat can shrink cotton fibers and warp the base.
Pro Tips & Common Mistakes to Avoid
Maintaining consistent tension is essential for the waistcoat stitch. Because you are working into the center of the stitch, it is easy to make the stitches too tight, which makes inserting the hook difficult on subsequent rounds. Practice keeping your working loop slightly loose to allow the hook to pass through easily. Use a stitch marker at the beginning of every round so you do not lose your place during the vertical wall construction. To make the basket larger, simply continue the circular base increases in multiples of 6 stitches per round until you reach your desired diameter, then proceed to the wall instructions. Note that changing the size will increase the total yardage required for the project.
Frequently Asked Questions
Can I use a single strand of yarn for this pattern?
Using a single strand of worsted weight yarn will result in a much thinner, floppier basket that will not hold its shape. The two-strand construction is necessary to provide the required rigidity.
Is this project suitable for beginners?
If you are familiar with the magic ring and basic increases, this project is well within reach for an advanced beginner. The waistcoat stitch requires a bit of practice to ensure you are entering the correct part of the stitch.
Can I sell the baskets I make from this pattern?
You are welcome to sell finished items made from this pattern, provided you credit the designer and use your own photographs for your listings.
What should I do if my basket base is curling?
If the base curls upward like a bowl, your tension is too tight during the increase rounds. Ensure your stitches are loose enough to lie perfectly flat before you begin the transition to the walls in Round 9.
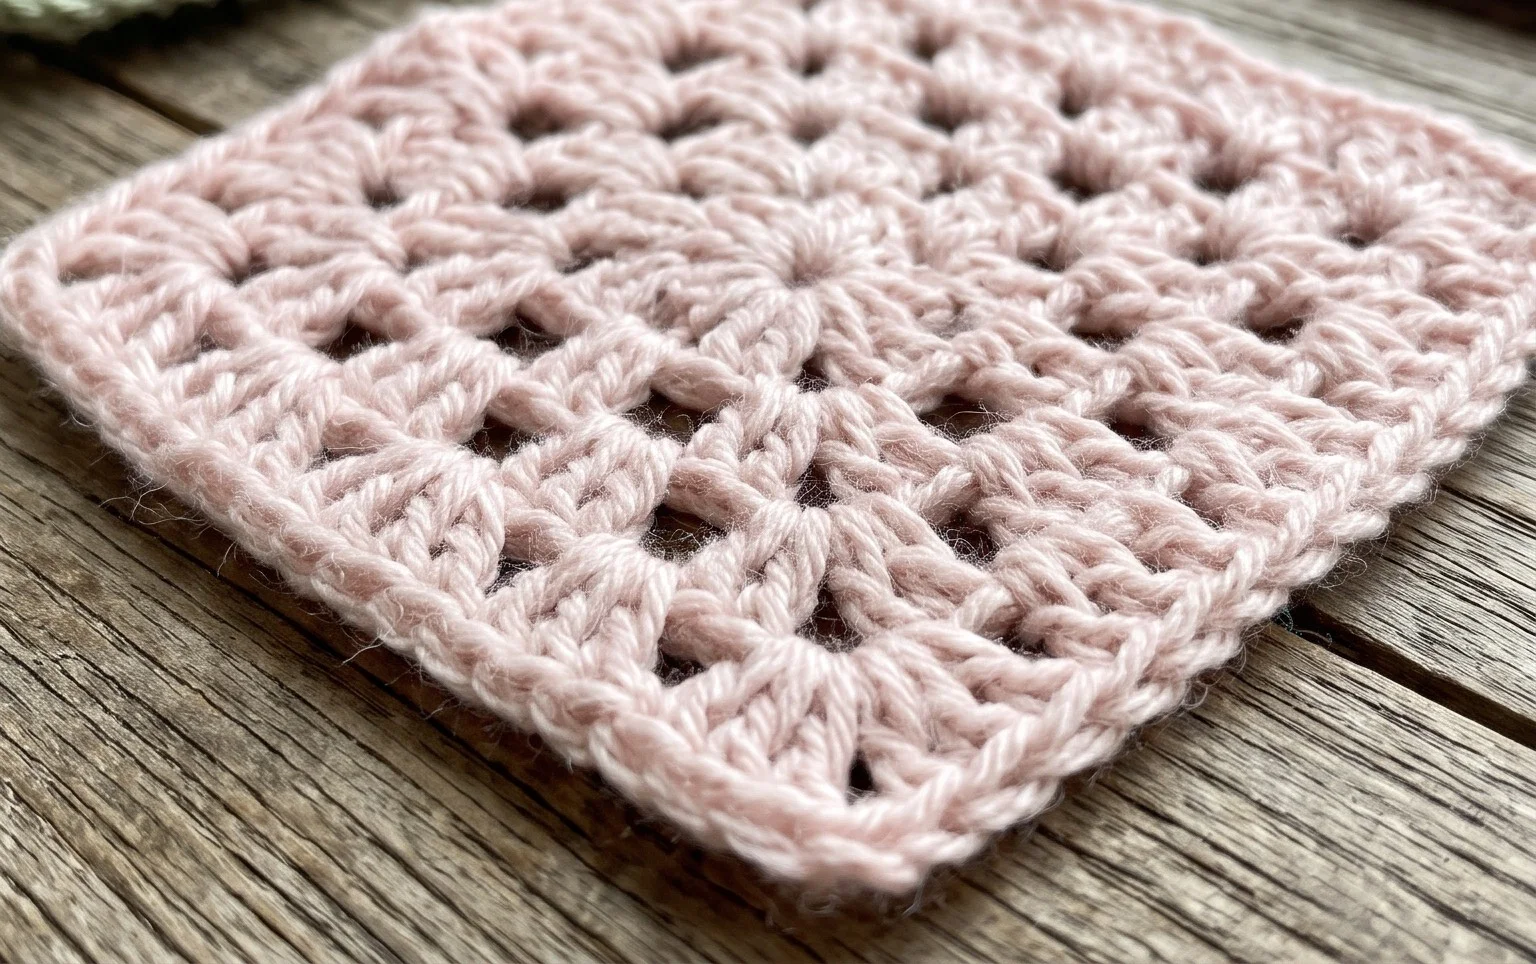
Connecting these finished squares with a single crochet border makes the final assembly sturdy enough for heavy use as a seasonal throw or a light bag. You might try alternating colors between rows to add depth or using a thicker wool blend if you prefer a winter-ready version of these designs. Sharing a photo of your completed squares on Pinterest helps others find inspiration for their own craft stash. You can check the rest of the blog for more free patterns to build your next handmade project using these techniques.