Easy Crochet Witch Hat: Free Beginner Pattern & Tutorial
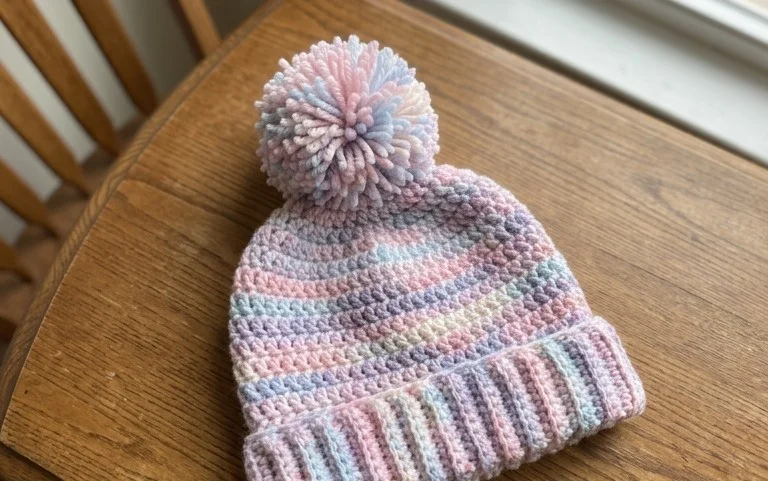
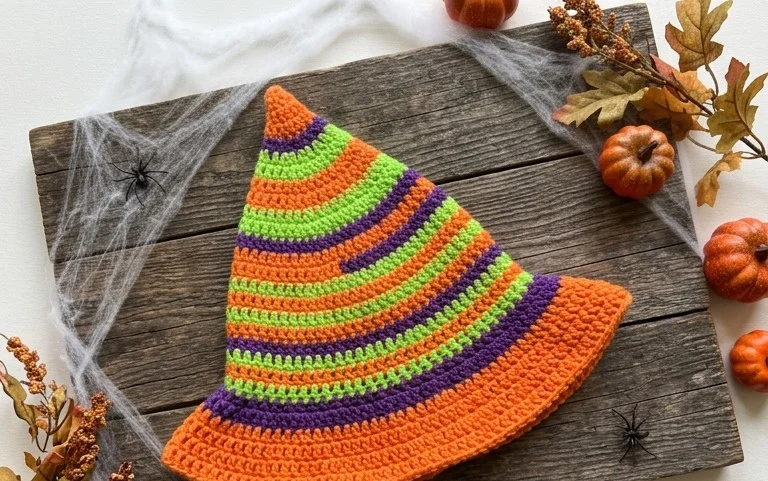
This slouchy headpiece brings a touch of whimsical charm to your autumn wardrobe, offering a relaxed fit that stays cozy during chilly evenings. You will love how the bulky yarn provides a soft, squishy texture that mimics the look of high-end boutique accessories without the steep price tag. It is an approachable project for beginners because it relies entirely on straight rows of half double crochet, eliminating the need to track complex stitches or tricky increases. You will learn to form a simple rectangle that transforms into a stylish silhouette through basic seaming and cinching, making this a rewarding project for any weekend afternoon.
Why You’ll Love This Pattern
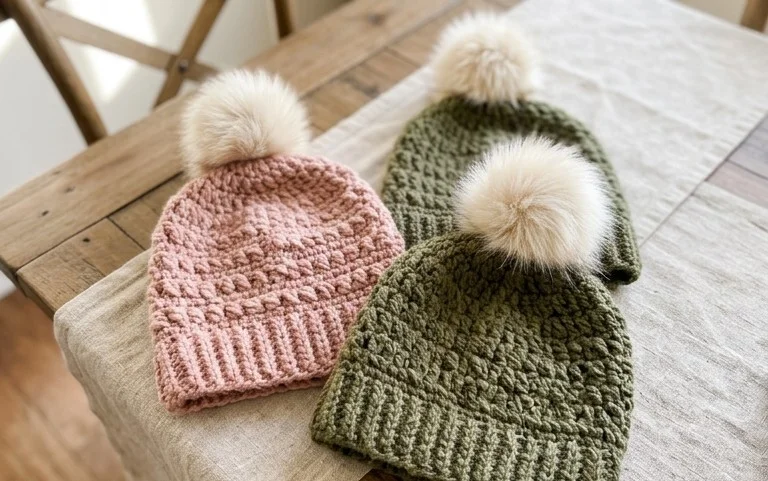
This classic crochet beanie works up quickly using a basic half double crochet stitch, making it an ideal choice for last-minute gifts or stash-busting projects. The construction relies on a simple rectangle worked in rows, which is then seamed and cinched to create a professional, slouchy finish. Beginners appreciate the lack of complex increasing or decreasing, while experienced makers enjoy the rhythmic, meditative nature of the repeat. Because the pattern uses a bulky weight yarn, you can complete an entire hat in just one or two sittings.
I managed to finish this hat in a single evening while watching a movie. The instructions were very easy to follow and the finished size is perfectly slouchy just as described.
— Sarah, hobbyist crafter
Pattern Overview & Skill Level
- Skill Level: Beginner
- Approximate Time: 2–3 hours
- Construction: Flat rectangle worked in rows, seamed to form a tube, then cinched at the top
- Finished Dimensions & Sizing: 18 inches circumference (unstretched), 10 inches tall (flat)
Materials & Supplies Needed
- Yarn: Bulky #5 weight, 100% acrylic or wool blend, approximately 150 yards.
- Hook Size: 6.0 mm / J-10.
- Notions: Tapestry needle for seaming, scissors, and a stitch marker to track the start of rows.
- Safe yarn substitutions: You may use a heavy worsted weight held double for a similar gauge. Avoid heavy cotton yarns as they lack the necessary stretch and memory for a comfortable fit.
Stitch Guide & Abbreviations (US Terms)
- ch: chain
- hdc: half double crochet
- hdc-blo: half double crochet in the back loop only. This creates the ribbed texture and added elasticity.
- st/sts: stitch/stitches
- sl st: slip stitch
- FO: fasten off
Step-by-Step Pattern Instructions
Hat Body
- Row 1: Ch 35. Hdc in the 3rd ch from hook and in each ch across. Turn. (33 sts)
- Row 2: Ch 2, hdc-blo in each st across. Turn. (33 sts)
- Rows 3–45: Repeat Row 2 until the rectangle measures approximately 18 inches long when slightly stretched. Do not FO.
Assembly and Finishing
- Seaming: Fold the rectangle in half, bringing the short ends together. Slip stitch through the back loop of the foundation chain and the back loop of the final row to join the tube.
- Closing the Crown: Cut a 12-inch tail of yarn. Using your tapestry needle, weave the yarn in and out of the ends of every other row along the top edge of the tube. Pull the yarn tail tight to gather the top of the hat closed. Secure with a knot on the inside.
- Weaving Ends: Turn the hat right side out. Weave in all remaining yarn ends securely into the fabric to ensure the hat holds its shape through repeated wear.
Care & Washing Instructions
- Machine wash on a gentle cycle in cool water to prevent fiber distortion.
- Lay the item flat on a towel to air dry, reshaping it while damp to ensure the ribbing remains symmetrical.
- Avoid using high heat or tumble drying, as this can felt or shrink acrylic and wool fibers unexpectedly.
Pro Tips & Common Mistakes to Avoid
- Maintain consistent tension, especially on the turning chain, as tight chains can cause the edges of the hat to pull inward.
- Use a stitch marker at the end of every row to ensure you are not accidentally dropping stitches, which is the most common reason for uneven sides.
- Weave your yarn tails in multiple directions through the stitches on the wrong side of the fabric to hide them invisibly and prevent them from working loose.
- To adjust the height of the hat, simply change the number of chains at the beginning; note that a longer chain requires more yarn, so ensure you have extra supplies if adding more than 2 inches.
Frequently Asked Questions
Can I use a medium weight yarn instead of bulky?
Yes, you can hold two strands of worsted weight yarn together to achieve the correct gauge. Using a single strand of worsted weight will result in a much smaller hat, so you would need to adjust the starting chain count.
Is this pattern suitable for complete beginners?
Yes, this is an excellent first project because it relies on the half double crochet stitch and requires no complex shaping like increases or decreases found in circular hats.
How do I sell finished items made from this pattern?
You are welcome to sell items made from this pattern provided you credit the designer in your shop listing. Always check the specific usage terms provided in the original design document for any commercial restrictions.
Why is my hat edge uneven?
Uneven edges are usually caused by missing the first or last stitch of a row. Always count your stitches at the end of each row to ensure you have exactly 33 stitches before turning.
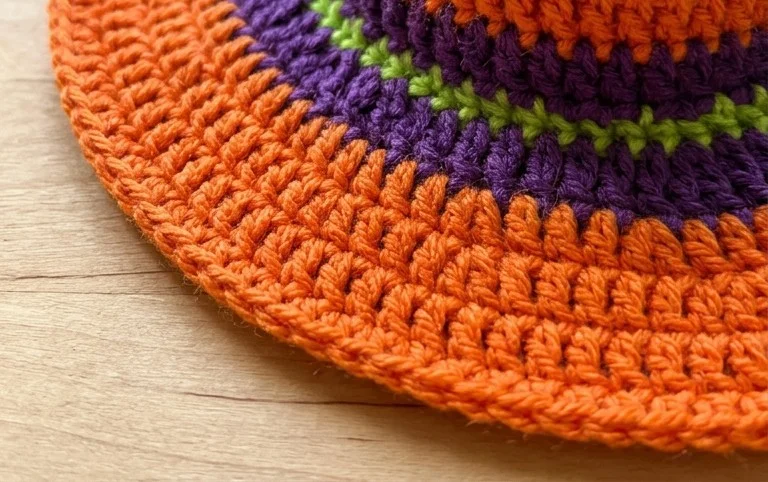
Your finished project now brings a playful flair to any outfit or costume collection. You can customize the look by working this in a vibrant purple or classic black to change the seasonal aesthetic, or by adding a brim using single crochet rounds if you prefer more structure. Upload a photo of your creation to your favorite social media platforms so others can see your work. Feel free to browse our archives for additional free crochet patterns to keep your hands busy with new creative challenges all year long.