Easy Amigurumi Mushroom Ornament: Free Crochet Pattern
A bright red cap with crisp white spots transforms a simple ball of yarn into a whimsical woodland treasure for your tree. These small mushrooms feel firm in your palm and hold their rounded shape due to the tight tension of the stitches. Beginners will appreciate how the single crochet spirals keep the process rhythmic and predictable, while the assembly of the stem to the cap provides a rewarding lesson in structure. You get to practice basic shaping without dealing with complex color changes or invisible joins, making this a reliable project for your holiday crafting marathon.
Why You’ll Love This Pattern
This beginner-friendly amigurumi mushroom works up in under two hours, making it an ideal choice for quick gift-making or craft fair inventory. The pattern relies on basic single crochet stitches worked in continuous spirals, which removes the need for joining rounds and keeps the stitch count straightforward for those still building their confidence with 3D shaping. Because it requires very little yarn, it serves as an excellent scrap-busting project for those partial balls of red and white worsted weight yarn left over from larger winter makes. The tight gauge of the fabric ensures that your polyester fiberfill stuffing stays securely tucked inside, creating a sturdy final piece that holds its shape well over time.
I managed to finish three of these little mushrooms in a single afternoon while watching television. The pattern is very easy to follow and the instructions for the stem-to-cap assembly are crystal clear.
— Sarah, amigurumi enthusiast
Pattern Overview & Skill Level
- Skill Level: Beginner
- Approximate Time: 1.5 hours
- Construction: Amigurumi method using continuous rounds, starting from the cap and stem separately, then whip-stitched together
- Finished Dimensions: Approximately 3 inches tall by 2.5 inches wide
Materials & Supplies Needed
- Yarn: Worsted weight (#4) acrylic or cotton yarn. You will need approximately 20 yards of red and 15 yards of cream or white.
- Hook Size: 3.5 mm (E-4) for a tight, closed fabric.
- Notions: Polyester fiberfill stuffing, tapestry needle for assembly, stitch markers, and scissors.
- Safe yarn substitutions: You can use DK weight yarn with a 3.0 mm hook for a smaller, keychain-sized mushroom. Using a heavier yarn like bulky weight will increase the finished size significantly and will require you to increase your stuffing amount accordingly to prevent gaps.
Stitch Guide & Abbreviations (US Terms)
- MR: Magic Ring
- ch: Chain
- sc: Single crochet
- inc: Increase (work 2 sc in the same stitch)
- dec: Decrease (sc2tog; work 2 stitches together to reduce count by one)
- sl st: Slip stitch
- st/sts: Stitch/stitches
- BLO: Back loop only
Step-by-Step Pattern Instructions
Mushroom Cap
- Rnd 1: 6 sc into MR (6 sts)
- Rnd 2: inc in each st around (12 sts)
- Rnd 3: [1 sc, inc] 6 times (18 sts)
- Rnd 4: [2 sc, inc] 6 times (24 sts)
- Rnd 5: [3 sc, inc] 6 times (30 sts)
- Rnd 6-9: sc in each st around (30 sts)
- Rnd 10: [3 sc, dec] 6 times (24 sts)
- Rnd 11: [2 sc, dec] 6 times (18 sts)
- Fasten off, leaving a long tail for sewing.
Stem
- Rnd 1: 6 sc into MR (6 sts)
- Rnd 2: inc in each st around (12 sts)
- Rnd 3: Working in BLO, sc in each st around (12 sts)
- Rnd 4-7: sc in each st around (12 sts)
- Rnd 8: [2 sc, dec] 3 times (9 sts)
- Sl st to the next stitch to finish. Fasten off and leave a tail for sewing. Stuff the stem firmly with fiberfill.
Assembly
Stuff the cap lightly with fiberfill. Position the stem centered over the bottom opening of the cap. Using the long tail from the stem, sew the top of the stem to the underside of the cap using a whip stitch. Ensure you catch both the back loops of the stem and the corresponding stitches of the cap for a secure join. Weave in all loose ends inside the body of the mushroom before pulling the final knot tight.
Care & Washing Instructions
- Hand wash in cool water using a gentle detergent to maintain the shape of the fiberfill.
- Lay flat on a clean towel to air dry, turning occasionally to ensure the stuffing does not remain damp inside.
- Avoid bleach or high-heat drying, as these can damage acrylic fibers and cause the stuffing to clump.
Pro Tips & Common Mistakes to Avoid
- Always use a stitch marker at the start of every round. Because the pattern uses a continuous spiral, it is very easy to lose your place without one.
- Maintain a consistent tension throughout the project. If your stitches are too loose, the stuffing will show through the gaps between the yarn.
- Weave your yarn tails into the center of the mushroom body. This keeps the exterior surface clean and prevents ends from poking out later.
- To adjust the size, add more rows to the stem or cap. Note that this will increase the total yardage required, so ensure you have enough extra yarn before committing to a larger size.
Frequently Asked Questions
Can I use a different weight of yarn for this pattern?
Yes, but you must adjust your hook size accordingly. Always use a hook 0.5 mm to 1.0 mm smaller than recommended on the yarn label to keep the stitches tight enough to hold the stuffing.
Is this pattern suitable for complete beginners?
Yes, this is an excellent starter project. It introduces the magic ring and basic increases and decreases, which are the foundational techniques for all amigurumi.
Can I sell the finished mushrooms made from this pattern?
Please check the individual license terms provided by the designer in the original source, as policies regarding finished items vary between creators.
Why do my rounds look like they are shifting?
Working in continuous spirals naturally causes the seam to travel slightly to the right. This is normal for amigurumi and does not affect the structural integrity or the overall appearance of the mushroom.
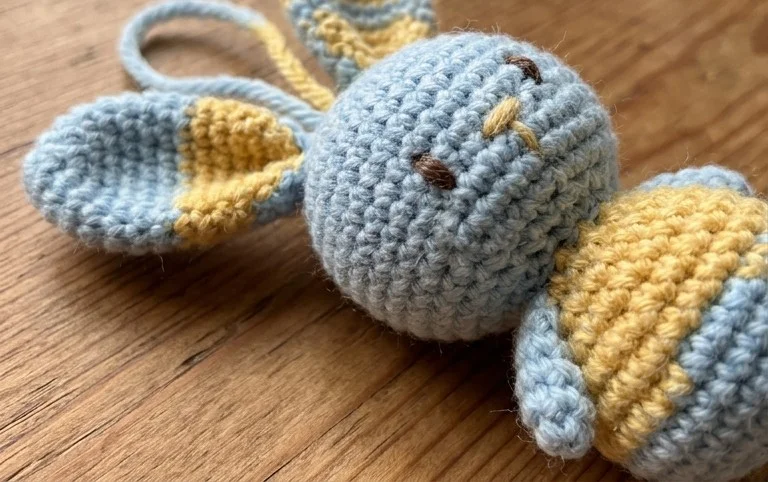
Your finished mushroom ornament adds a touch of handmade charm to any seasonal display or gift package. You can experiment with different color combinations, such as using earthy moss greens or soft pinks, to create a unique forest look for your home. Posting your finished piece on social media helps other makers find inspiration for their own yarn collections. If you enjoyed this project, visit the archives on my blog to browse more free patterns that use similar basic crochet techniques for your next afternoon hobby session.